SAMPLING MICROBES FROM THE ENVIRONMENT
LEARNING OBJECTIVES
Appreciate the ubiquitous nature of microorganisms.
Identify microorganisms on a culture plate as bacteria or mold.
MCCCD OFFICIAL COURSE COMPETENCIES
Describe and utilize the process of scientific inquiry, its realm, and limitations.
Describe structural characteristics of the major groups of microorganisms.
Explain and demonstrate the mechanisms of microbial growth and metabolism.
NOTES
Water (bottled/reverse osmosis or let tap water sit out for 24 hours) is required for this lab exercise.
PHOTO REQUIREMENTS
Take a photo with your photo ID during the lab exercises when you see this icon.

Paste the photos in the Sampling Microbes From The Environment Questions Document.
introduction
Nutrient material suitable for the cultivation of microorganisms is called media. Early microbiologists prepared their own media using available materials at the time, such as beef extract and vegetable slices. Robert Koch was a German physician who pioneered many microbiological techniques that are still used today. He prepared slices of boiled potatoes and smeared them with samples from diseased animals. The potato served as a growth medium for the bacteria. Media can be in liquid form, known as broth or a solid form called agar, referring to the solidifying ingredient. In this lab, you will be using a nutrient medium called nutrient agar. Nutrient agar contains all the nutrients necessary for successful isolation of the most frequently cultured types of bacteria. Below is a list of the ingredients in nutrient agar and the nutrients each ingredient provides.
NUTRIENT AGAR
| INGREDIENT | NUTRIENT(S) SUPPLIED |
| Peptone | Amino acids, peptides |
| Beef extract | Vitamins, minerals, other nutrients |
| Sodium chloride | Sodium and chlorine ions |
| Agar | None; derived from algae it just thickens the media |
| Water |
Most media are prepared using sterile procedures, and then are further sterilized after the completion of production. Sterilization of completed media is commonly performed using either an autoclave or through membrane filtration. Because you will not have access to these sterilization techniques, the solid media you use for the experiments have been sterilized for you. However, you will be required to melt the medium and pour it into Petri dishes in preparation for growing microorganisms. This process must be performed in a manner that reduces the possibility of introducing unwanted organisms into the media before use in the experiment.
Almost anywhere you look, you will find microorganisms. You will inoculate (introduce a sample) media you prepare with microorganisms that you have collected from the environment.
SCIENTIFIC METHOD
Question-What microorganisms will you grow from samples taken from your environment?
Hypothesis-You will grow bacteria and/or mold.
Experimentation-You will select five items/locations in your environment to sample. You will observe what type(s) of microorganisms grow. One plate will be inoculated with a sterile swab.
Sampling microbes from the environment procedure
| REQUIRED SUPPLIES FROM THE LAB KIT |
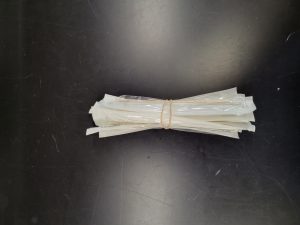
| Sterile Swabs (7)
|
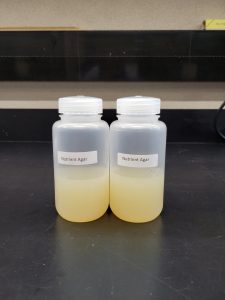
| Sterile Nutrient Agar (do not dispose of extra media after you pour plates for this lab. We will use left over media to pour plates for other labs).
|
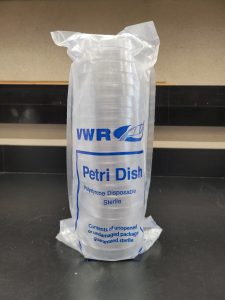
| Petri Plates (7)
|
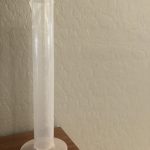
| 100 ml Graduated Cylinder
|
| REQUIRED SUPPLIES YOU PROVIDE |
| Microwave and paper plate or microwave safe plate OR stove and pot |
| Water (bottled/reverse osmosis or let tap water sit out for 24 hours) |
| Bleach (to disinfect your work space and kill microorganism cultures at the end of the experiment) |
| Disposable gloves (3 pairs) |
| Tape (any kind) |
| Permanent marker |
| Cup or bowl for surface disinfectant |
| Bleach |
| Scissors |
Please watch the brief video guide below and read all instructions carefully before you start the lab exercise.
MELT the nutrient agar
1. Wash your hands thoroughly with soap and water. Dry your hands with paper towel.
2. Put on a pair of gloves.
3. Prepare surface disinfectant. Using the 100 ml graduated cylinder add 180 ml of tap water to a cup or bowl. Using the 100 ml graduated cylinder now add 20 ml of bleach to the cup or bowl. The surface disinfectant (10% bleach solution) is now ready to use.
4. Disinfect your work surface with the surface disinfectant by applying surface disinfectant with a paper towel, allowing it to remain damp for 2 minutes, and then wiping away any remaining disinfectant with a dry paper towel. Throw the used paper towels in the trash.
Please watch the Melting Agar Video Guide above BEFORE you attempt to melt the nutrient agar!
5. You will now melt the agar in the bottle. The agar must be completely melted before you pour your plates. If the agar is not completely melted, the microorganisms cannot get access to the nutrients in the agar and they will not grow. Loosen or remove the cap on the nutrient agar bottle. Place the bottle in a microwave on a paper plate or microwave safe plate. Melt the agar in 10 send intervals removing the bottle from the microwave with the hot pad. Swirl (don’t shake) the contents every 10 seconds to evenly distribute the heat. Please be patient and do this in 10 second intervals! Continue this process until the agar is FULLY MELTED! There cannot be any chunks of agar or floating pieces of agar, all the agar must be liquefied. Use caution when removing the bottle from the microwave as it will be HOT! If you notice the agar boiling over, STOP the microwave and let the bottle cool down before handling with the hot pad. Hot agar can violently explode out of the bottle if heated too quickly and/or shaken. Once boiling has stopped, use a hot pad to protect your hands and remove the bottle from the microwave.
If you do not have a microwave, use your stove top. Loosen the cap on the agar bottle and place it in a pot. Add water to the pot level with the agar in the bottle. The bottle should not be floating in the water. Gently heat (simmer) the pot of water on your stove top till the agar in the bottle melts. Using a hot pad, swirl (don’t shake) the contents of the bottle about every minute. Continue this process until the agar is FULLY MELTED! There cannot be any chunks of agar or floating pieces of agar, all the agar must be liquefied.
6. After the agar is completely melted let it sit for 1-2 minutes to minimize any bubbles that may have formed.
pour 7 nutrient agar plates
Please watch the Pouring Agar Plates Video Guide Above BEFORE you attempt to pour agar plates.
1. Use scissors to carefully cut the top of the Petri dish package open. Pull the package down slowly to only expose the plates that you need. You need 7 plates for this lab (ignore the video saying 4 plates are needed). Fold down the rest of the plate package and remove any excess air. Tape the package closed.
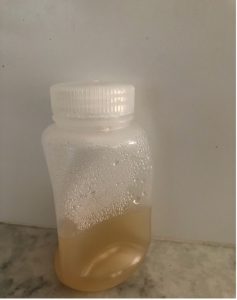
2. Use the agar sparingly. You only need enough to coat the bottom of the petri dish. If you did not watch the Pouring Agar Plates Video Guide above watch it now! Pour the fully melted agar into the bottom half of 7 Petri dishes by resting the mouth of the agar bottle against the edge of the bottom of a Petri plate, using the lid to shield the contents against contaminants in the air, and pouring the agar slowly until is almost covers the bottom of the Petri plate. Swirl the agar to see if you have enough the cover the bottom of the Petri plate, if not add a tiny bit more agar. Add the lid to the Petri plate. After your pour all the plates, if there is any agar left in the bottle, put the lid tightly on the bottle right away. Store the left-over agar at room temperature until the agar solidifies, then return the agar to the refrigerator. The bottle may collapse in on itself like the photo below. Do not worry this is normal. Allow the plates to solidify undisturbed. This should take approximately 30–60 minutes.
3. Dispose of your gloves in the trash.
inoculate (add a sample) the 7 nutrient agar plates
1. Wash your hands with soap and water. Put on a pair of disposable gloves.
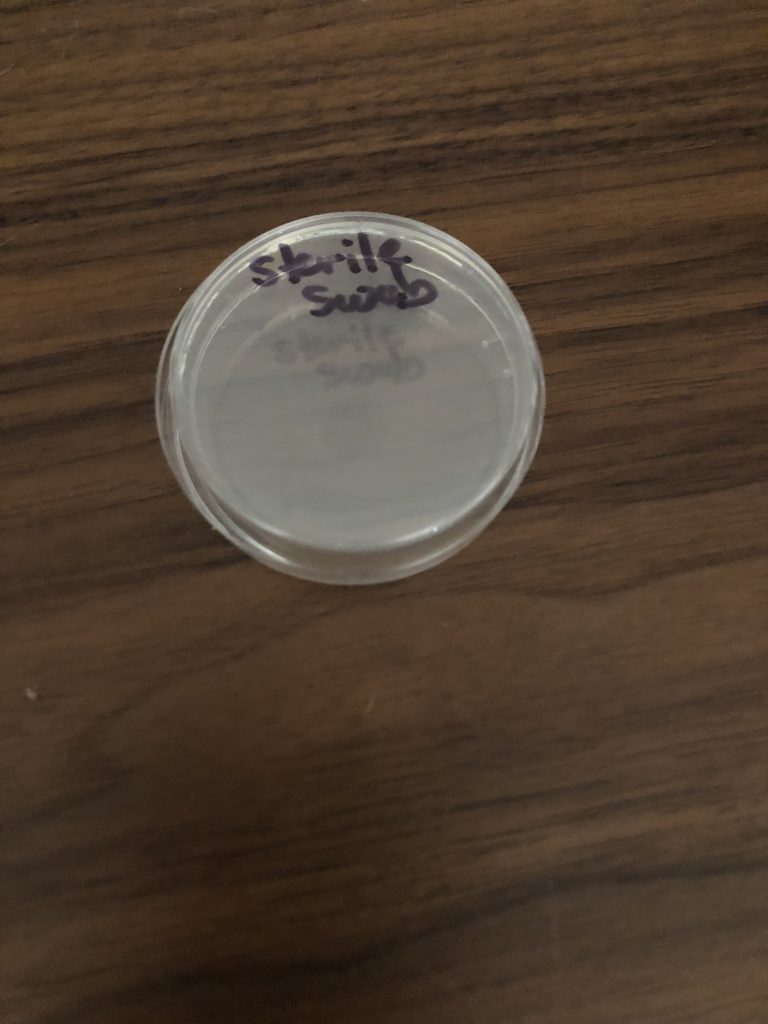
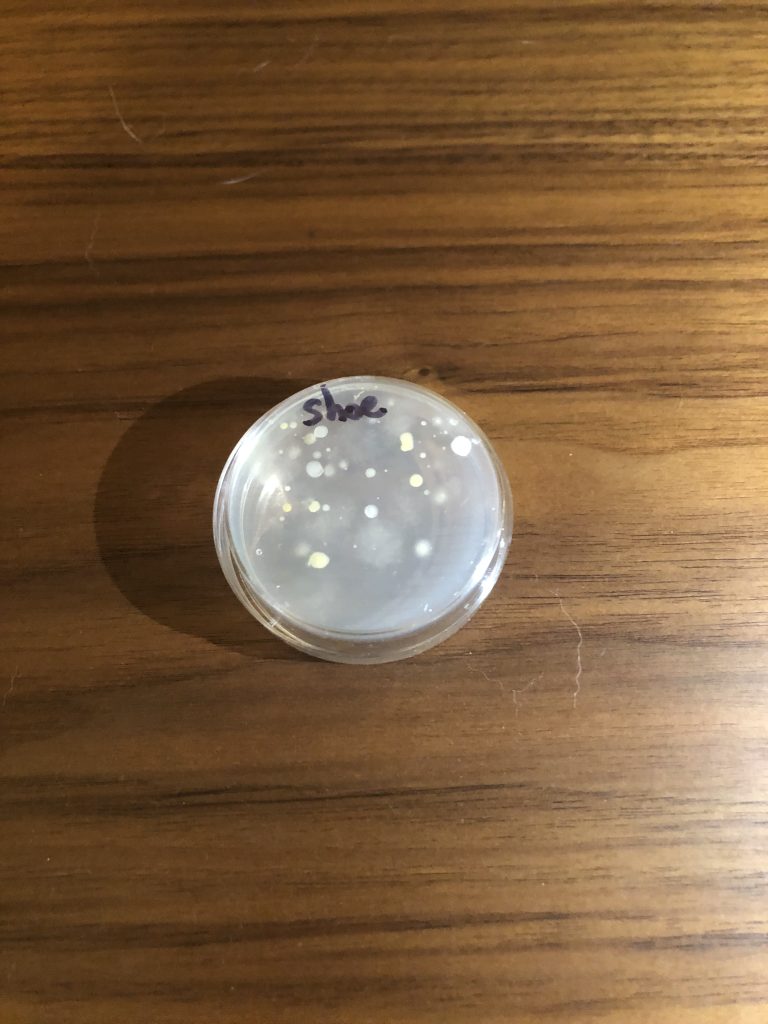
2. Use the permanent marker to label the bottom of one plate (where the solidified media is) sterile swab and one plate shoe. Select 5 other items/locations in your environment to sample microbes from and label the bottom of the remaining 5 plates with the 5 items/locations you selected. Let your imagination guide you. Lift your toilet seat and swab under the rim of the toilet. If you have a pet swab your pet’s water or food dish or even your pet. A kitchen sponge or dish rag are interesting options to swab. Here is a great list of suggestions http://www.webmd.com/news/20070625/top-spots-for-bacteria-at-home. Fill in the items/locations in the data table in the Sampling Microbes From The Environment Questions Document. Do not open the plates at this point in time!
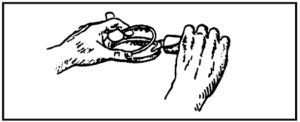
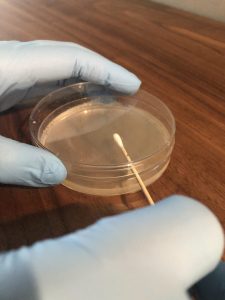
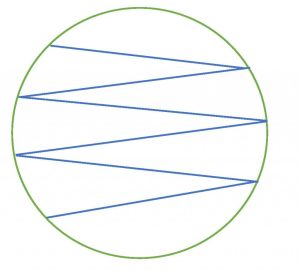
3. Carefully remove one swab from the package. Do not touch the cotton end of the swab, it is sterile. Moisten the sterile swab with water (bottled/reverse osmosis or let tap water sit out for 24 hours). Remove the lid from the agar plate labeled sterile swab but hold it closely over the top of the plate to use as a shield to prevent airborne contamination of the plate (see photo below). Carefully streak a sterile swab onto the agar in a zigzag pattern (see figure below). Ensure that you do not press too hard when streaking the swab on the agar to prevent cutting into the agar surface. Replace the lid and discard the swab is the trash.
 Take a photo with your photo ID of the 7 inoculated plates. This photo will be pasted into the Sampling Microbes From The Environment Questions Document.
Disinfect your work surface with the surface disinfectant by applying surface disinfectant with a paper towel, allowing it to remain damp for 2 minutes, and then wiping away any remaining disinfectant with a dry paper towel. Throw the used paper towels in the trash. Dispose of left over surface disinfectant by pouring it down the sink and running water for at least 30 seconds.
8. Wash your hands thoroughly with soap and water. Dry your hands with paper towel.
after 3 day incubation
1. After the 3 day incubation, wash your hands thoroughly with soap and water. Dry your hands with paper towels.
2. Put on a pair of gloves.
3. Prepare surface disinfectant. Using the 100 ml graduated cylinder add 180 ml of tap water to a cup or bowl. Using the 100 ml graduated cylinder now add 20 ml of bleach to the cup or bowl. The surface disinfectant (10% bleach solution) is now ready to use.
4. Disinfect your work surface with the surface disinfectant by applying surface disinfectant with a paper towel, allowing it to remain damp for 2 minutes, and then wiping away any remaining disinfectant with a dry paper towel. Throw the used paper towels in the trash.
5. Take a photo with your photo ID of the plates. Do not remove the lid to take photos. The growth must be clearly visible in the photo. You may need to experiment with lighting conditions and camera angles to get the best pictures in your work space. Paste the photo into the Sampling Microbes From The Environment Questions Document.
6. You will grow bacteria, mold, or both; these are common microbes found in the environment. Mold appears fuzzy to the naked eye. Bacteria appear moist and creamy. I want you to observe if you have grown bacteria, mold, or both on your nutrient agar plates. Record your results in the Sampling Microbes From The Environment Questions Document. I have built a Google photo site for you so you can see photos of bacteria and mold. Clicking the i button in the upper right of a photo will reveal if the microorganism is bacteria or mold.
https://photos.app.goo.gl/vrnUQREPB4V95nMr9
7. Pour bleach (not 10% bleach) onto the surface of the plates, covering the entire surface. Incubate the plates for 20 minutes, and then pour the bleach down the sink with running water.
8. Tape the plates shut and dispose of them in the trash. Dispose of your gloves in the trash. Wash your hands with soap and water.
9. Disinfect your work surface with the surface disinfectant by applying surface disinfectant with a paper towel, allowing it to remain damp for 2 minutes, and then wiping away any remaining disinfectant with a dry paper towel. Throw the used paper towels in the trash. Dispose of left over surface disinfectant by pouring it down the sink and running water for at least 30 seconds.
10. Wash your hands thoroughly with soap and water. Dry your hands with paper towel.