
THE MICROSCOPE-PECOS
LEARNING OBJECTIVES
Identify and state the function of the parts of a compound brightfield microscope
Properly care for a microscope
Properly focus a microscope
Observe specimens using a compound brightfield microscope
Calculate total magnification
MATERIALS
Brightfield microscope
Immersion oil
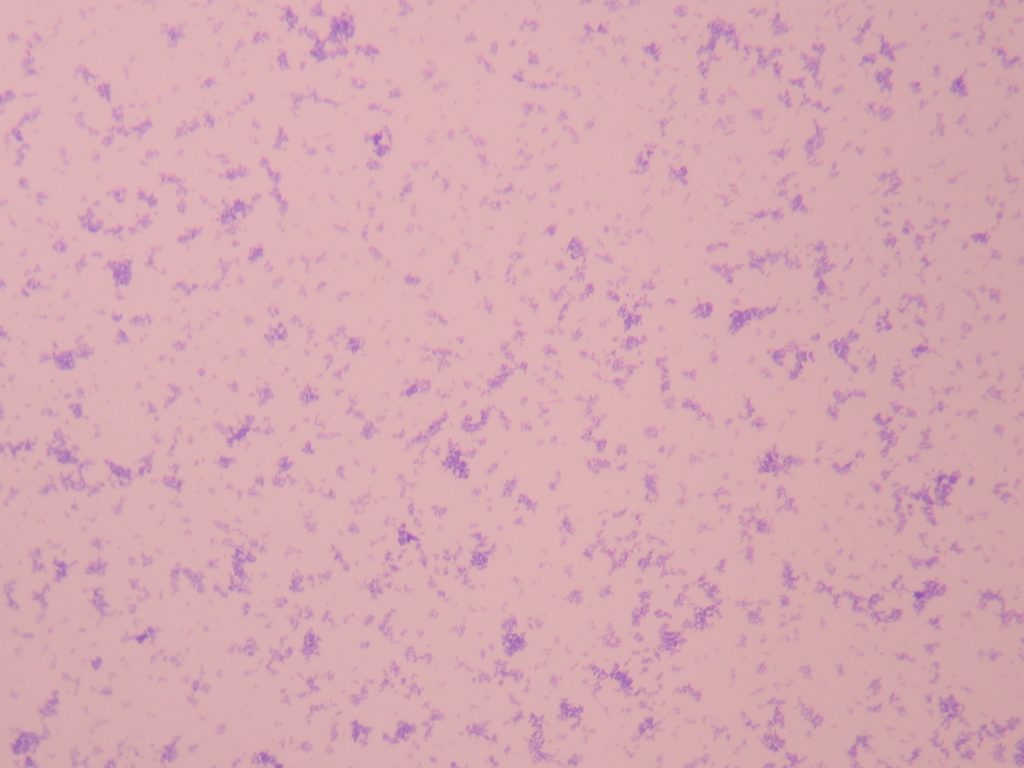
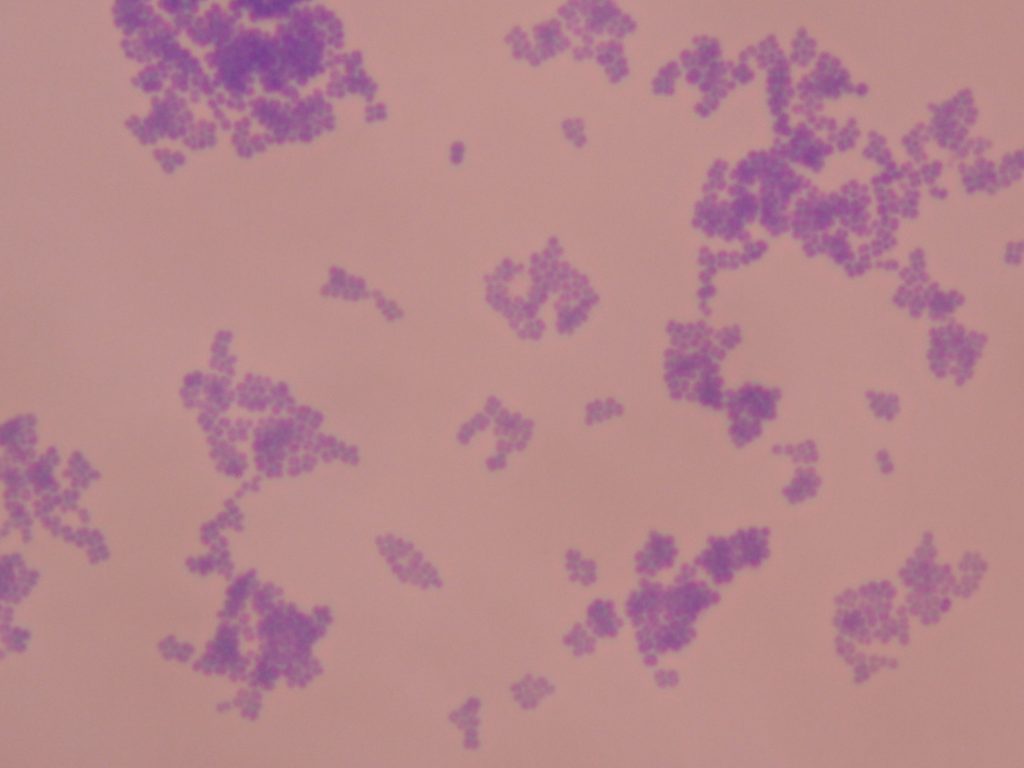
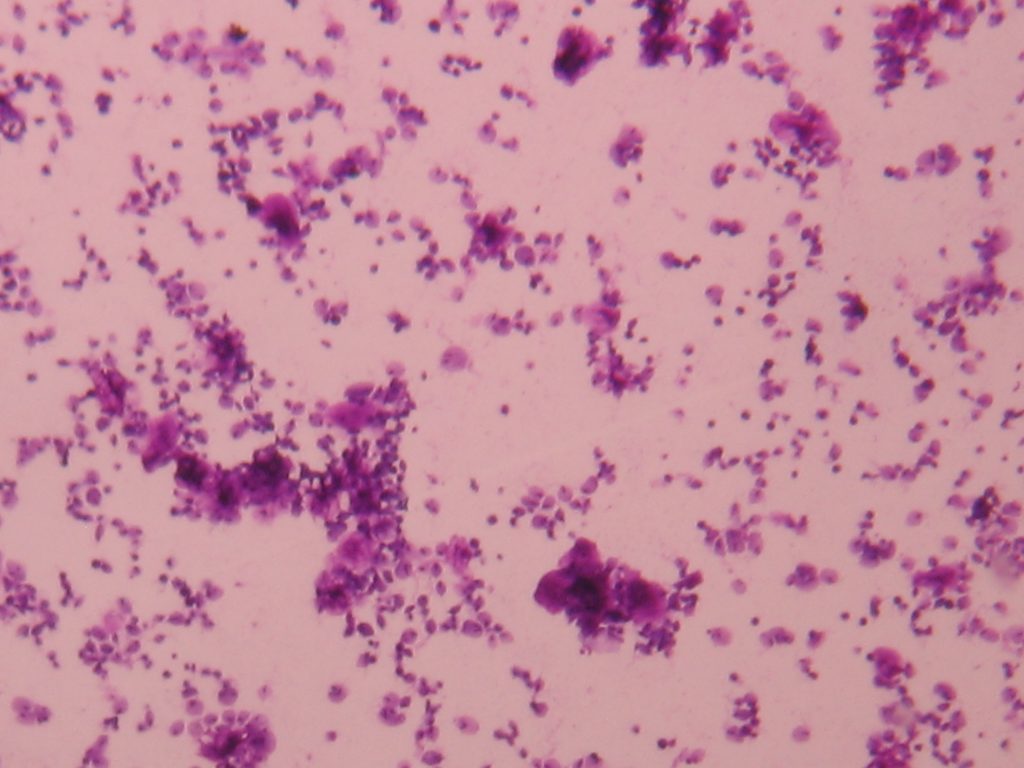
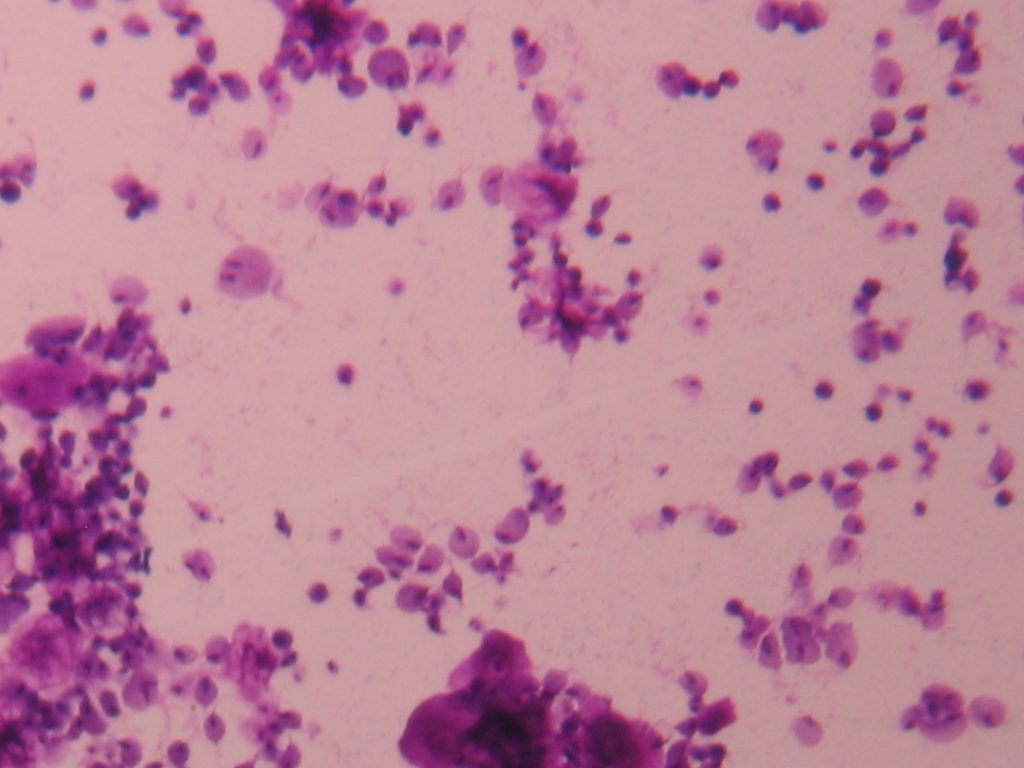
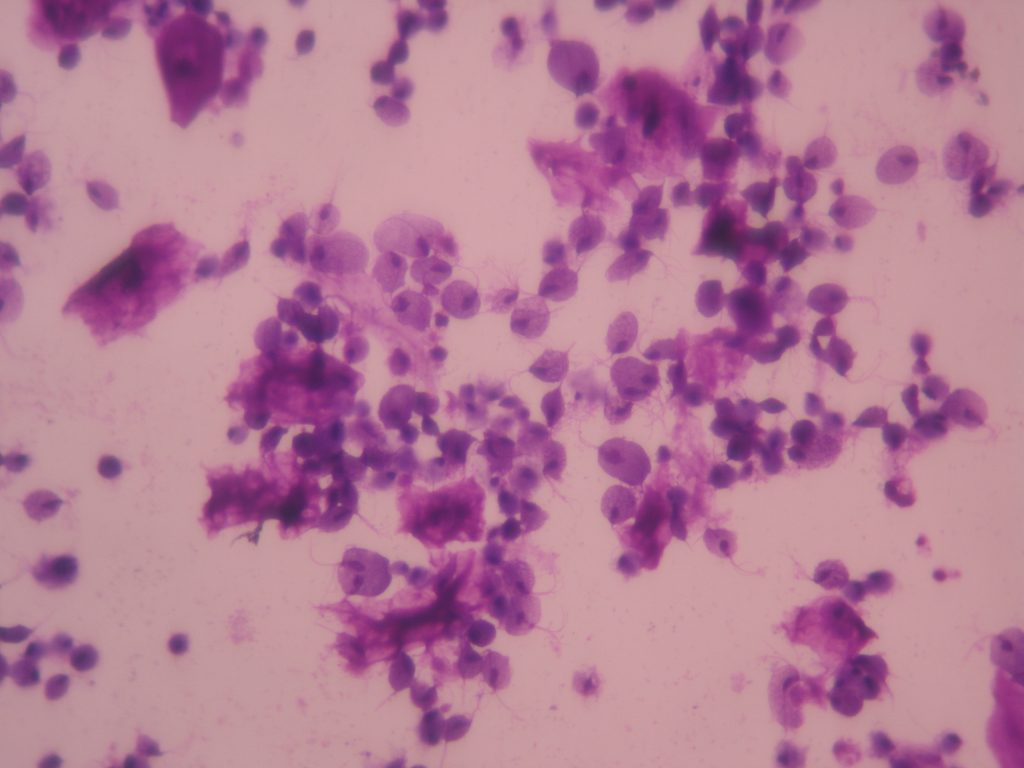
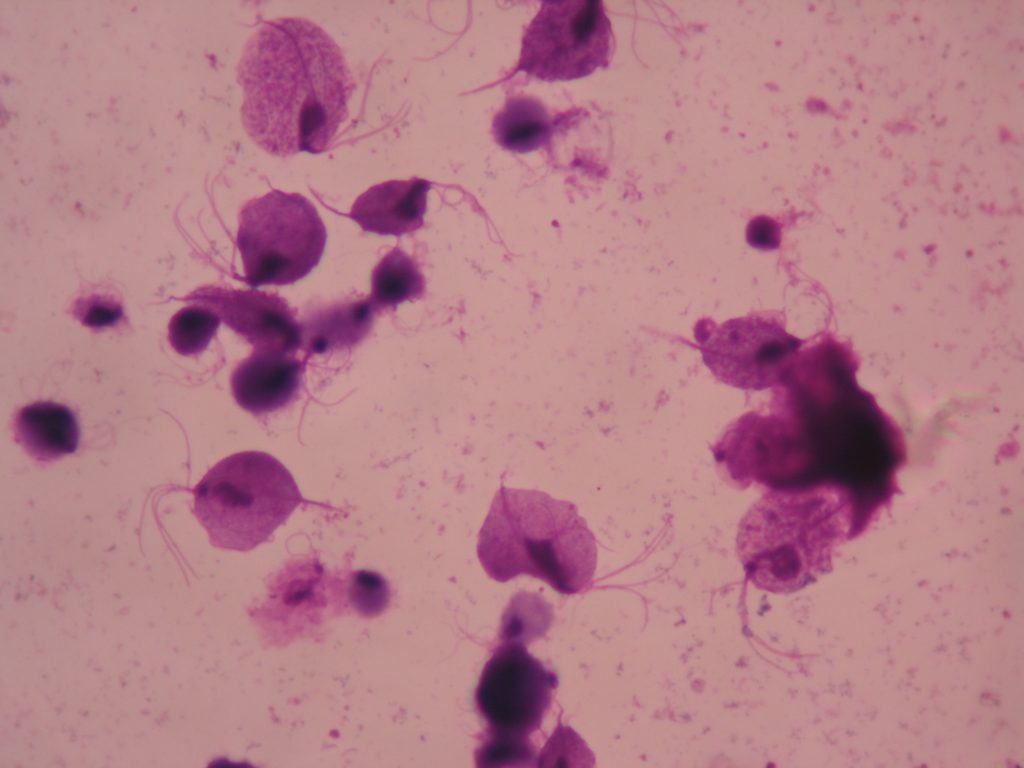
Slide box with prepared slides of human blood smear, budding yeast, bacteria from mouth, typical coccus, Trichomonas vaginalis
Lens wipes
MICROSCOPE PHOTO ALBUM LINK
The human eye is unable to see microorganisms. Their small size makes the use of the microscope a necessity. Thus, the microscope will be an extremely important tool in your study of microbiology. Two major types of microscopes have been developed, the compound microscope and the electron microscope. While the compound microscope utilizes light waves from a light bulb, the electron microscope uses high energy electrons.
Several types of compound microscopes are available including phase contrast, brightfield, darkfield, and fluorescent. In this exercise, we will use a binocular brightfield microscope whose name reflects the fact that the field (background) is bright in color while the microbes are dark. This is the most common type of microscope used by microbiologists.
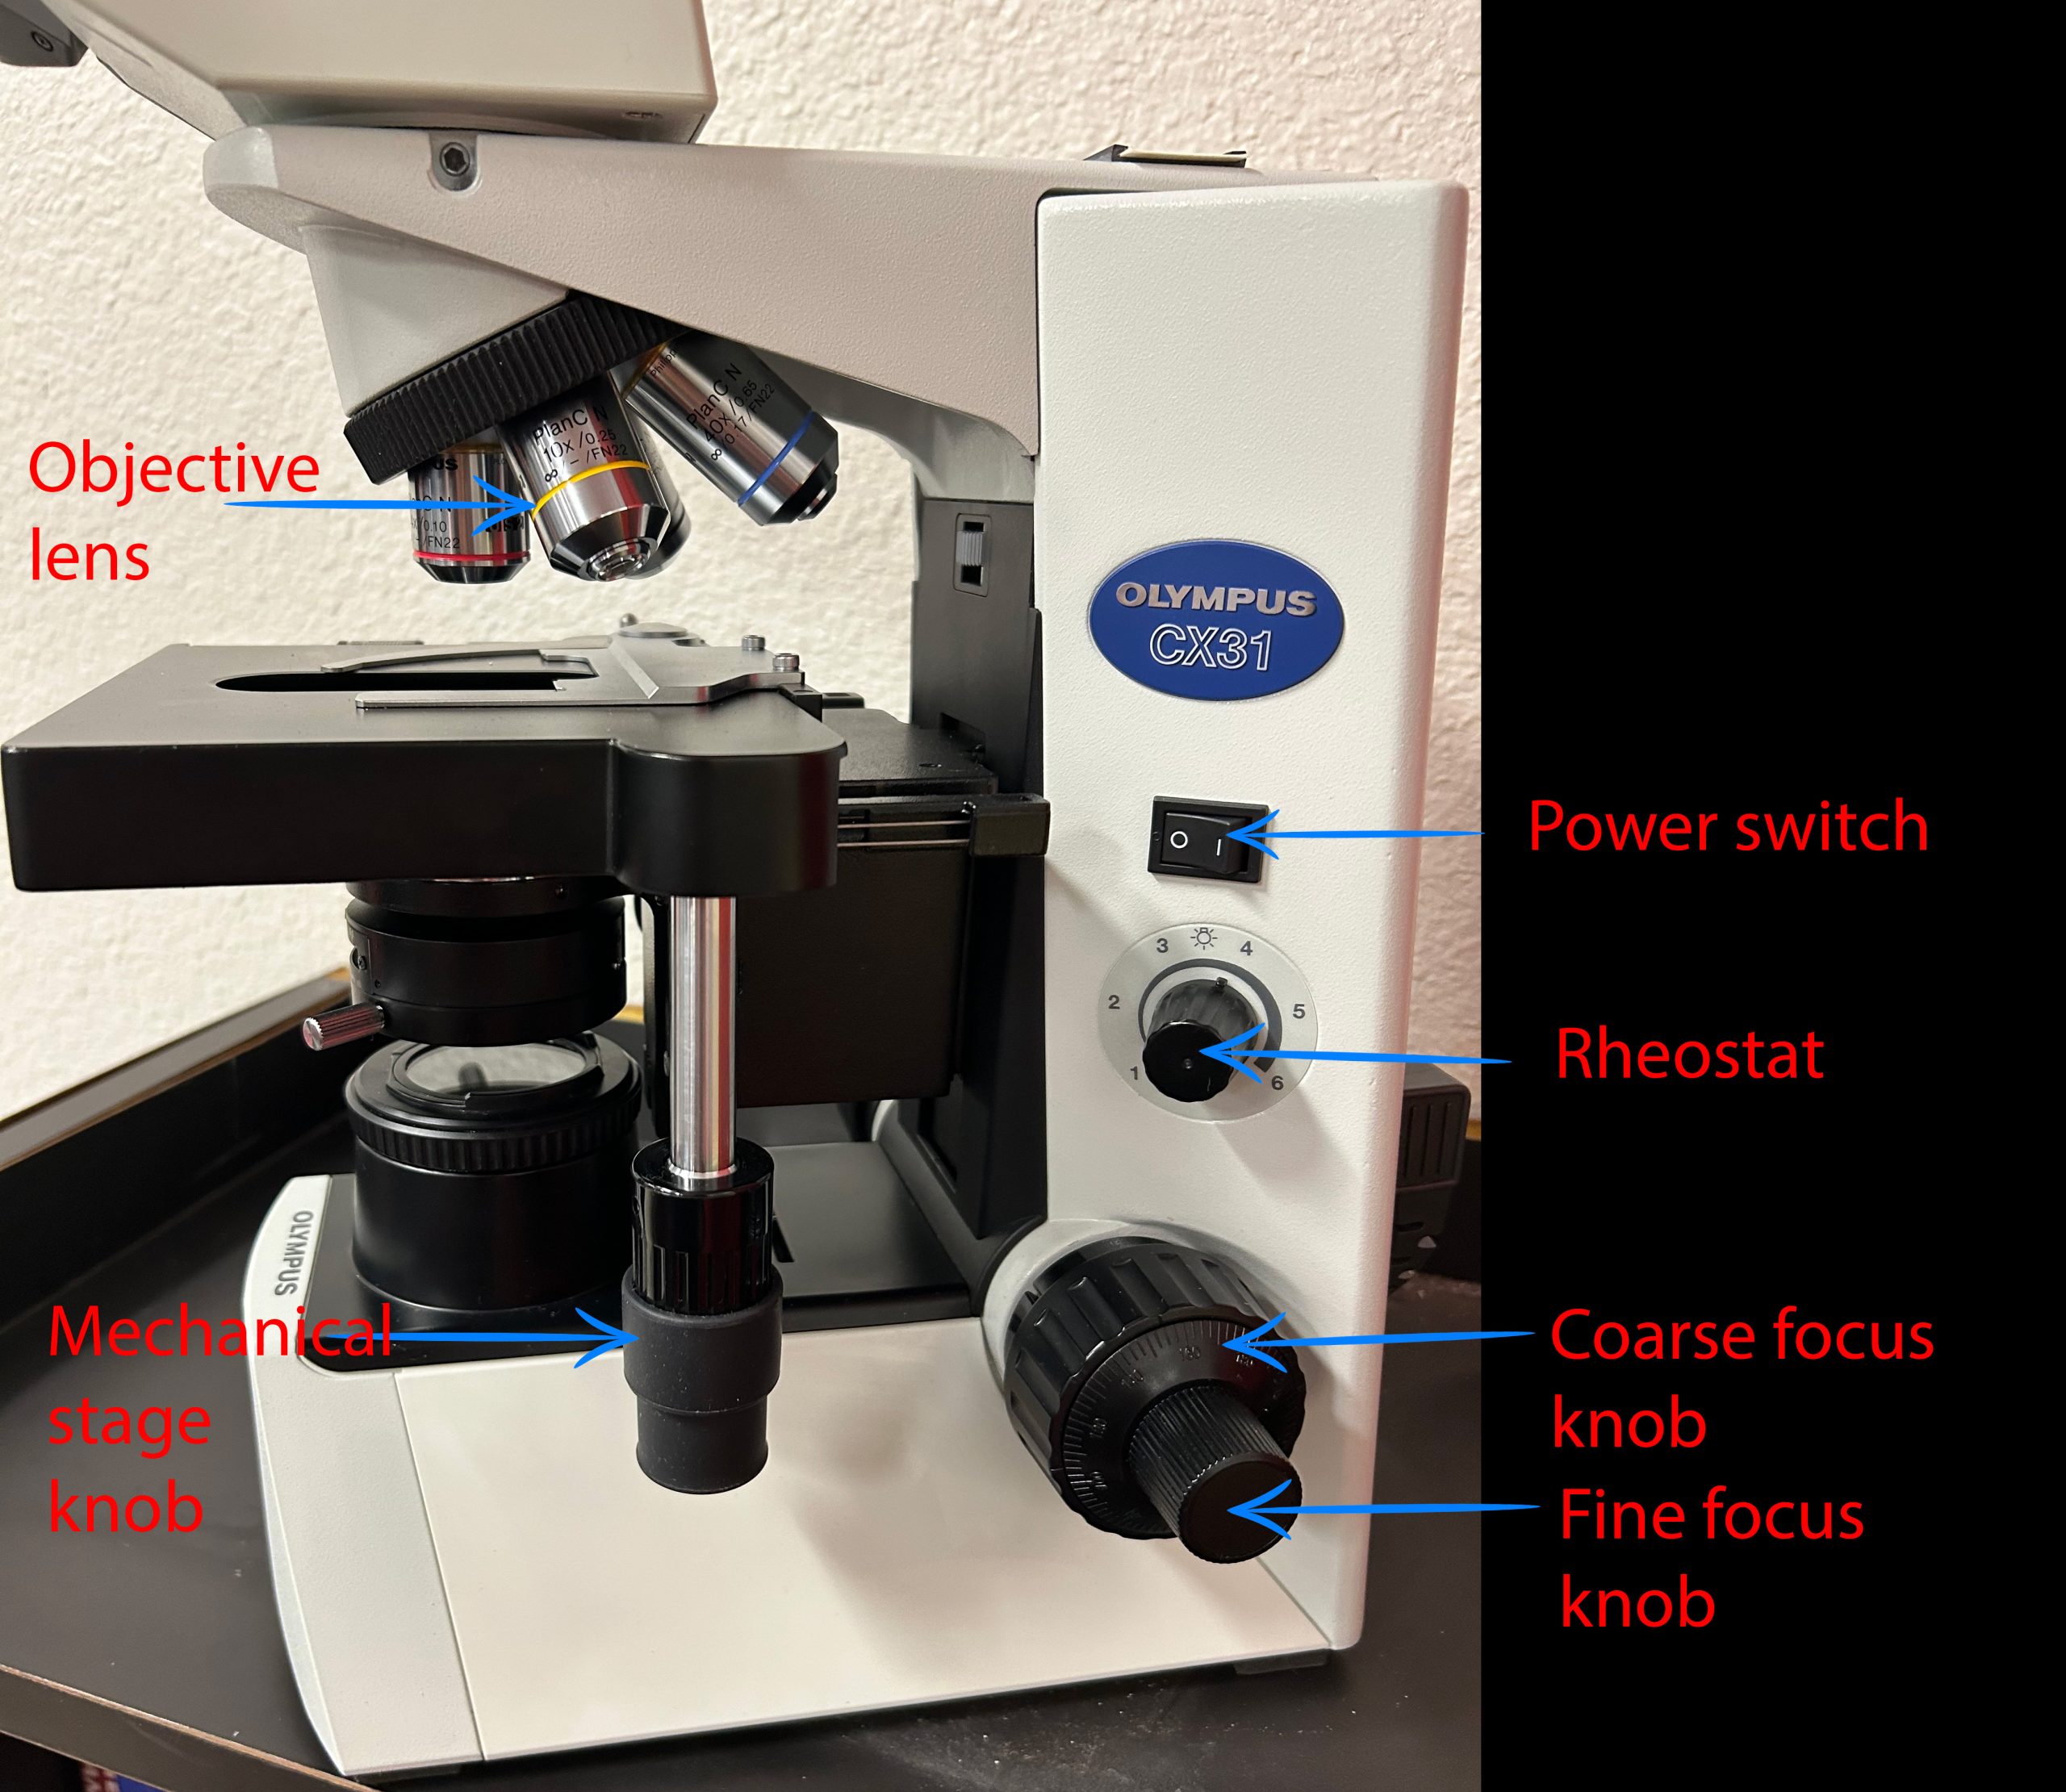
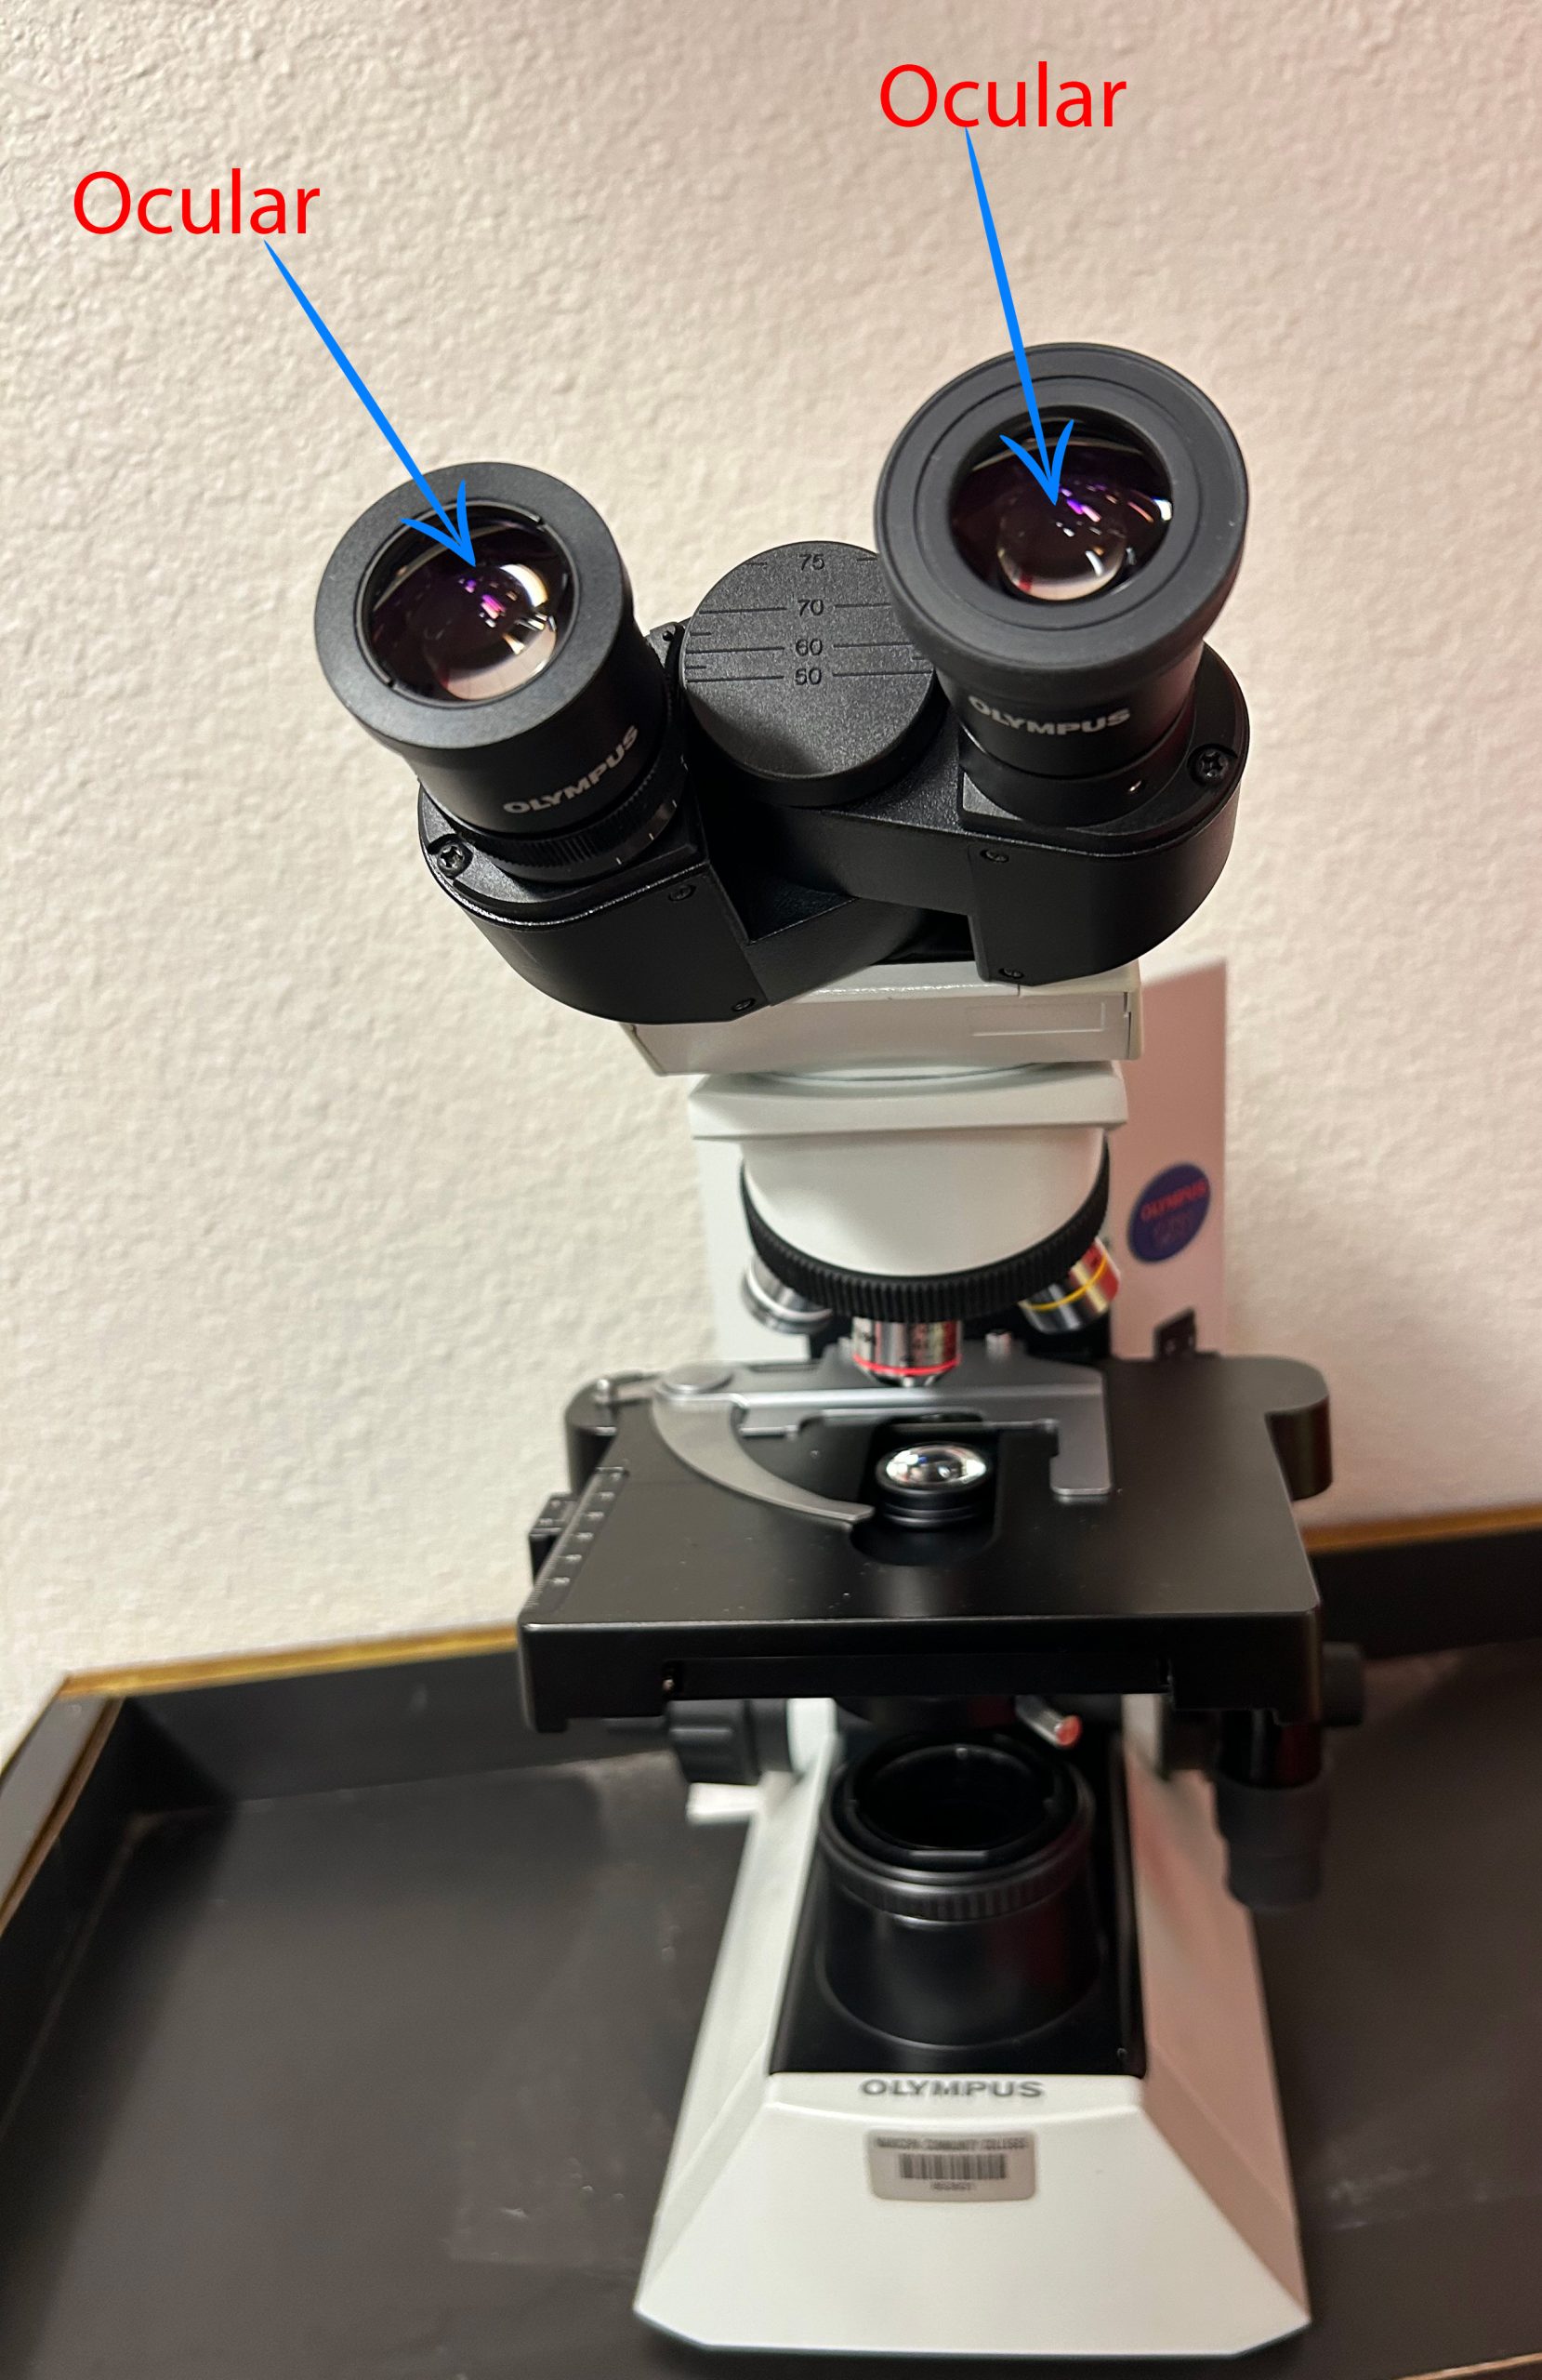
Magnification is the ability of the microscope to enlarge an object. Compound microscopes have two magnifying lenses, the objective lens and the ocular (eyepiece) lens. The function of the ocular lens is to magnify an image ten times (10X). Most brightfield microscopes have four objective lenses attached to a revolving nosepiece: the scanning objective (4X), the low power objective (10X), high-dry objective (40X), and oil immersion objective (100X).
As each objective is rotated into alignment, the specimen is magnified first by the objective lens and then the ocular lens. This magnified image is then transmitted to the human eye. Therefore, the total magnification of the specimen is calculated by multiplying the magnification of the objective lens times the magnification of the ocular lens. Total magnification = ocular x objective.
The two factors that determine how well you will see your specimen are the magnification and the resolving power (or resolution) of your microscope. Resolving power (or resolution) is measured by how well your microscope can show two lines lying close together as two distinct lines. This depends on the wavelength of the light (smaller wavelengths of light produce better resolution) and the numerical aperture (written on the side of the lens). The numerical aperture describes how well your lens can gather light.
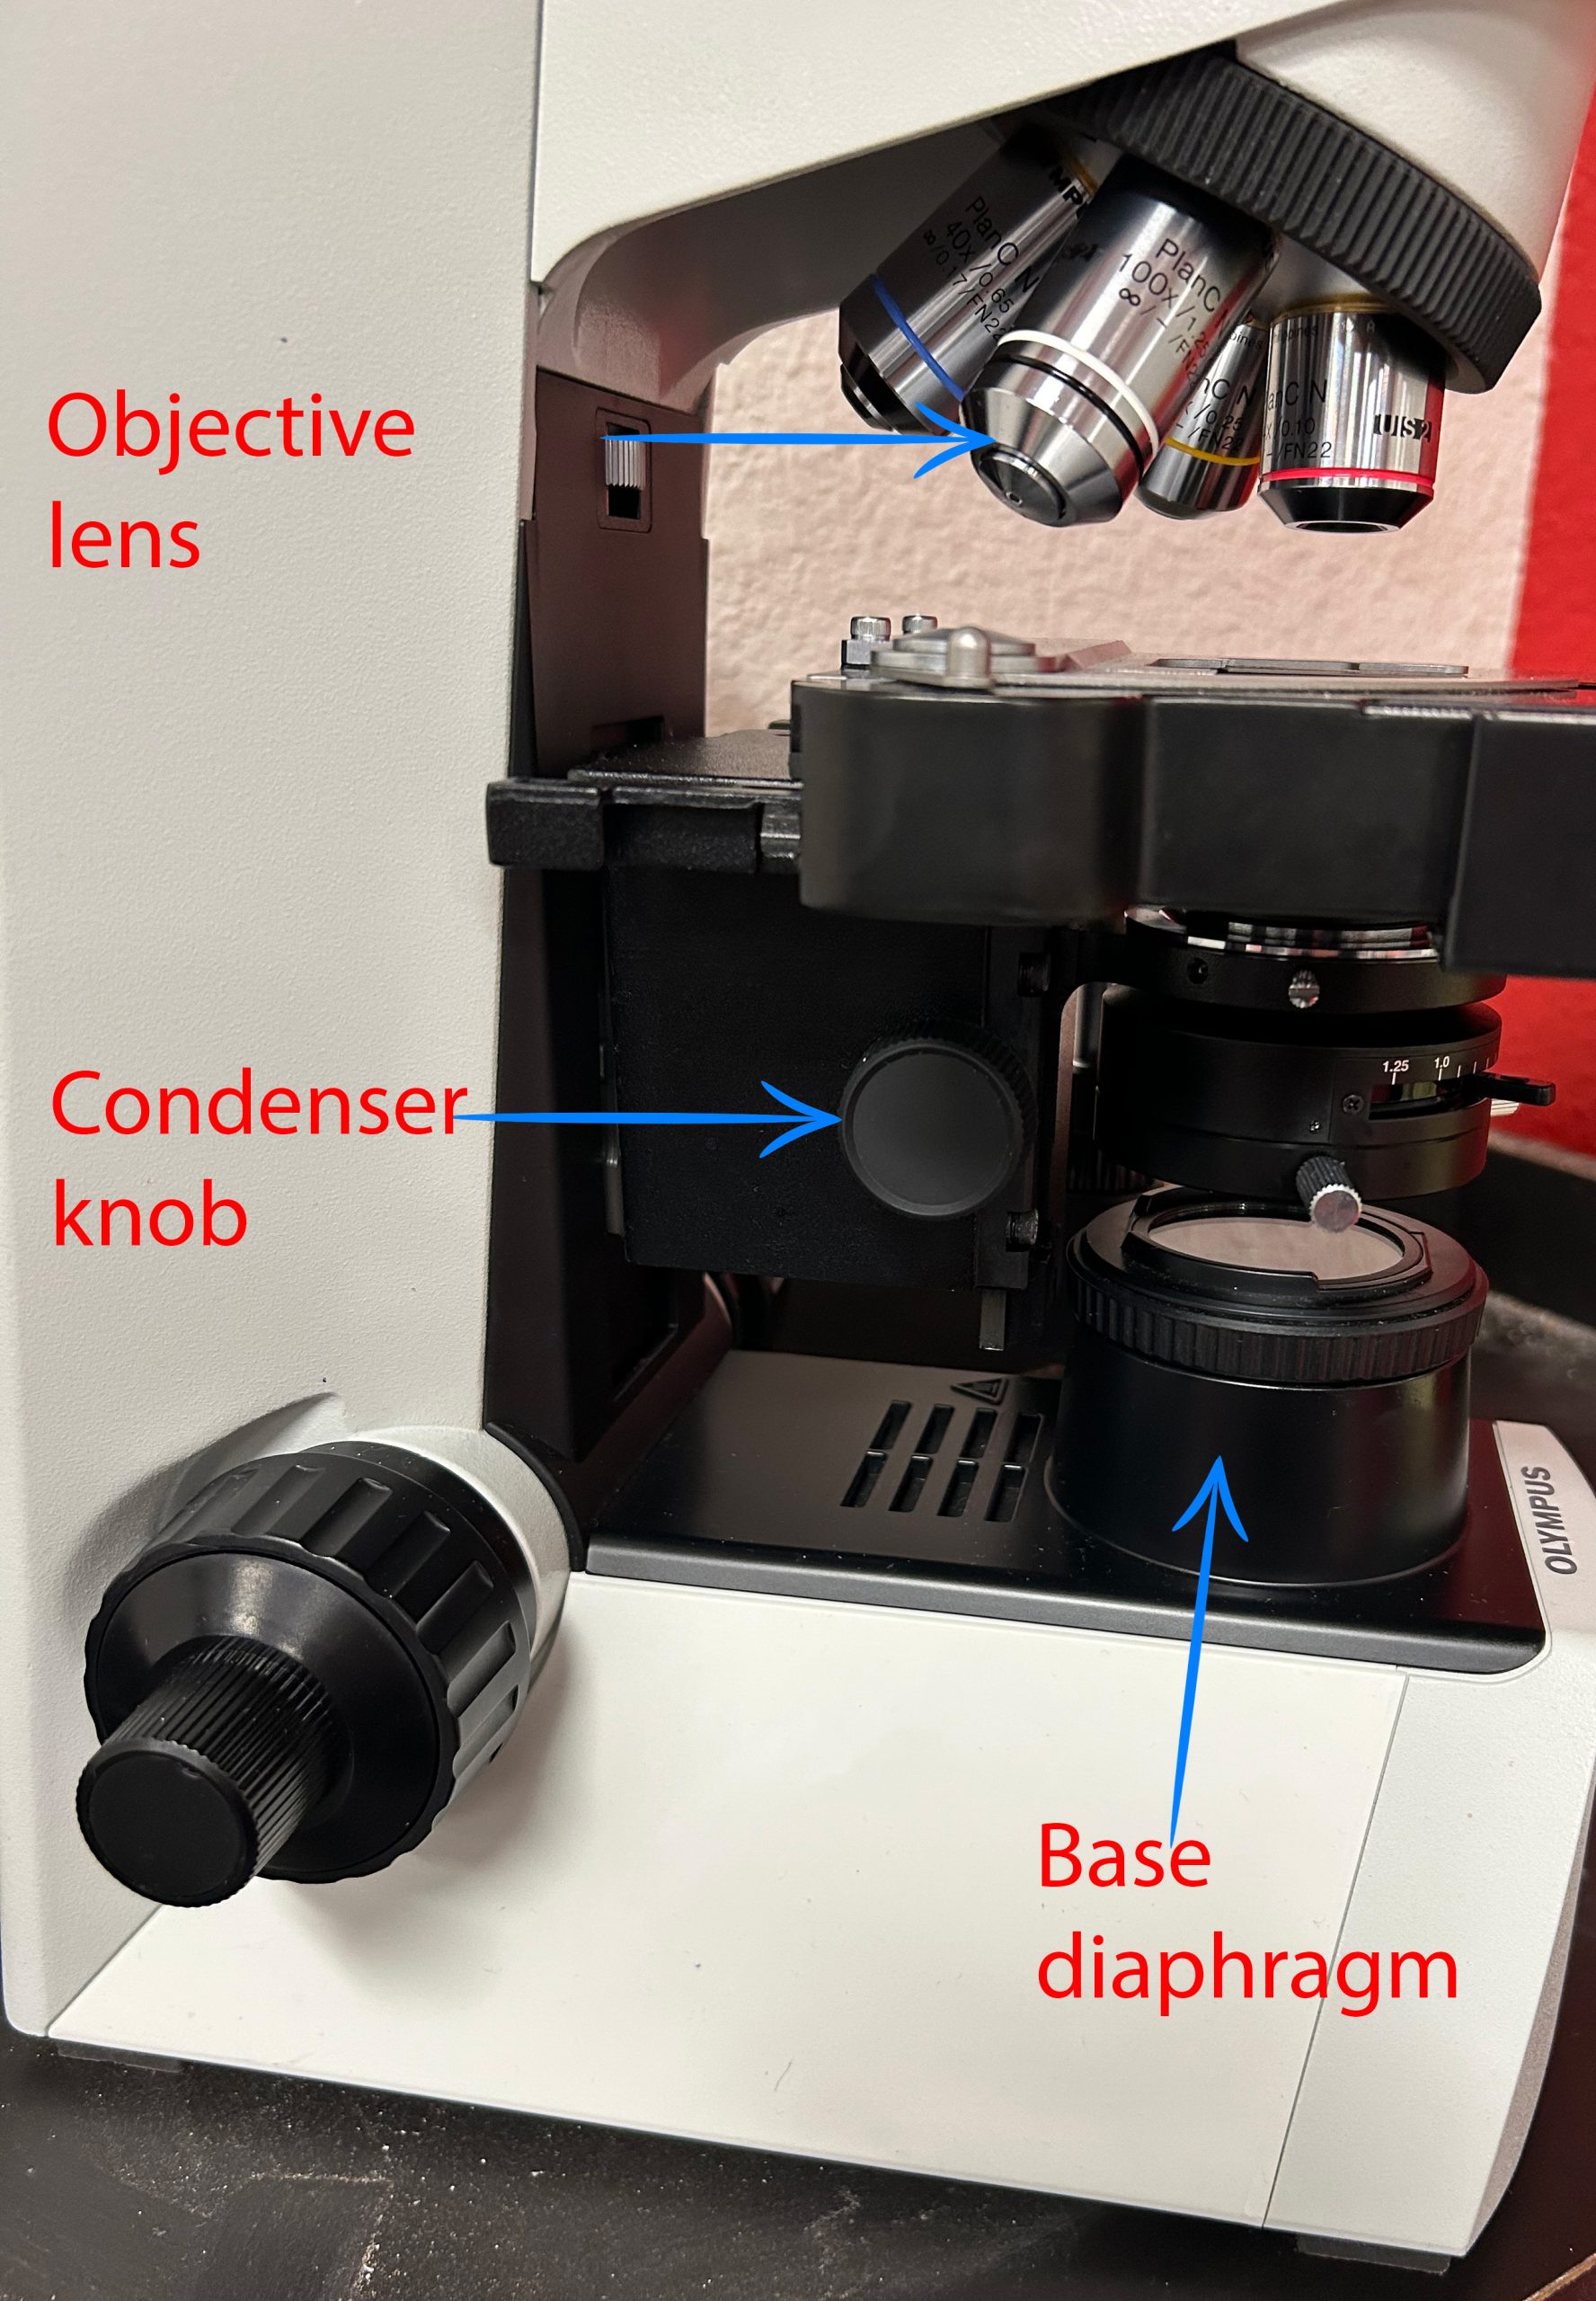
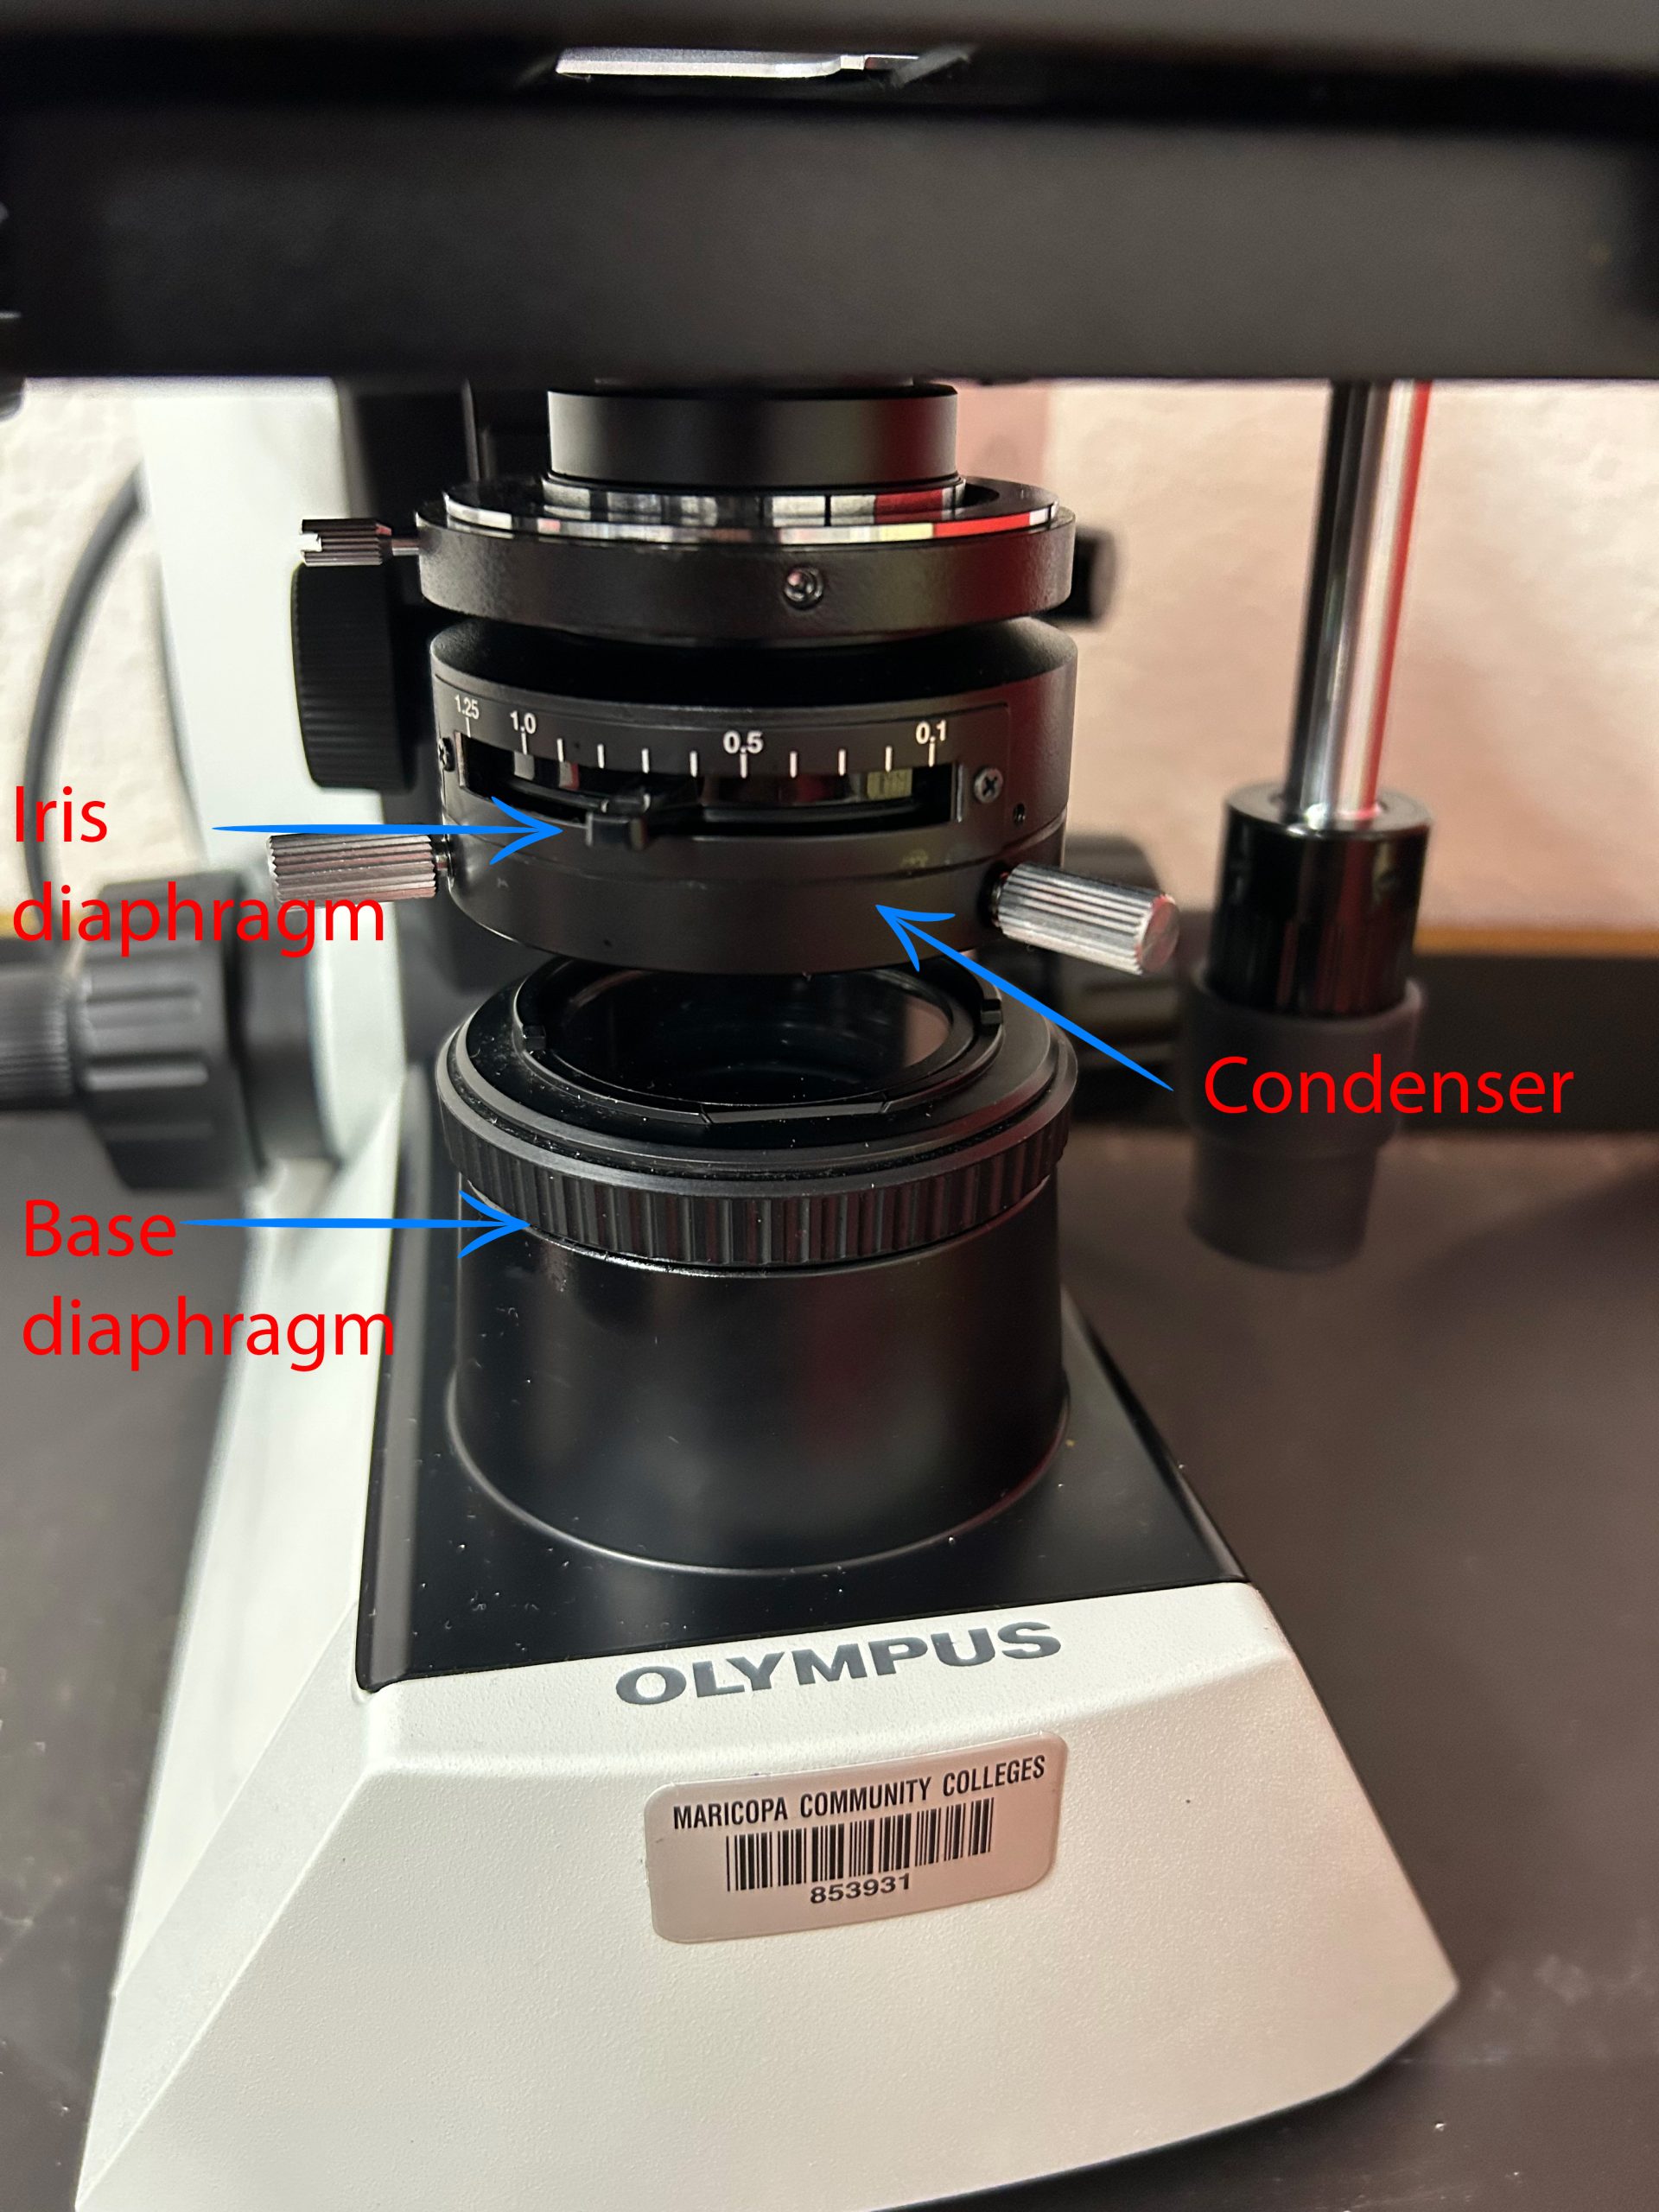
As the magnification increases, field of view and light decrease. To increase the light intensity, the rheostat is turned clockwise, and the iris diaphragm opening is progressively enlarged. The condenser will concentrate the light beam onto the specimen; therefore, the light must be positioned in the center of the field of view. To achieve the best focus, use the fine focus knob to adjust for one eye, and then move the diopter adjustment ring located on the ocular to focus the other eye.
The refractive index determines how much light is bent when entering a material. Immersion oil, which has the same refractive index as glass, minimizes the amount of light that is refracted or lost. The oil immersion objective must be immersed into a drop of oil to achieve a clear, distinct image.
Immersion oil on any other objective lenses will result in a fuzzy, distorted image. Therefore, once you have added oil to the slide, DO NOT rotate the 40X objective through the oil. Since there is a larger working distance, the space between the objective lens and the surface of the slide, it is acceptable to switch to 4X or 10X objectives without concern that the oil on the slide will come in contact with the objective. To achieve adequate lighting when the oil immersion objective lens is used to view a specimen; open the iris and base diaphragm, raise the condenser, and increase the light intensity by adjusting the rheostat knob and iris diaphragm.
PRE-ASSESSMENT
Setting up the Microscope
1. When moving the microscope, carefully carry it with one hand under the base and the other hand holding at the recessed handle on the rear of the arm. Gently place it on a flat solid surface.
2. Plug the electrical cord in the closest electrical outlet.
3. Assess the cleanliness of the microscope. If necessary, use lens wipes to clean the lenses.
4. Adjust your lab chair so you can comfortably look into the oculars.
5. Turn on the light bulb by setting the main power switch to (I), then turn the rheostat knob clockwise to make the illumination brighter.
6. While looking into the oculars, adjust the binoculars until the right and left fields coincide completely and one circle of light is seen. The distance between the right and left ocular is your “interpupillary distance”. Each time you look into a binocular microscope, adjust the oculars to this setting.
Focusing the Microscope on SCAN (4X) and Low power (10X)
1. Lower the stage to its lowest position using the course focus knob.
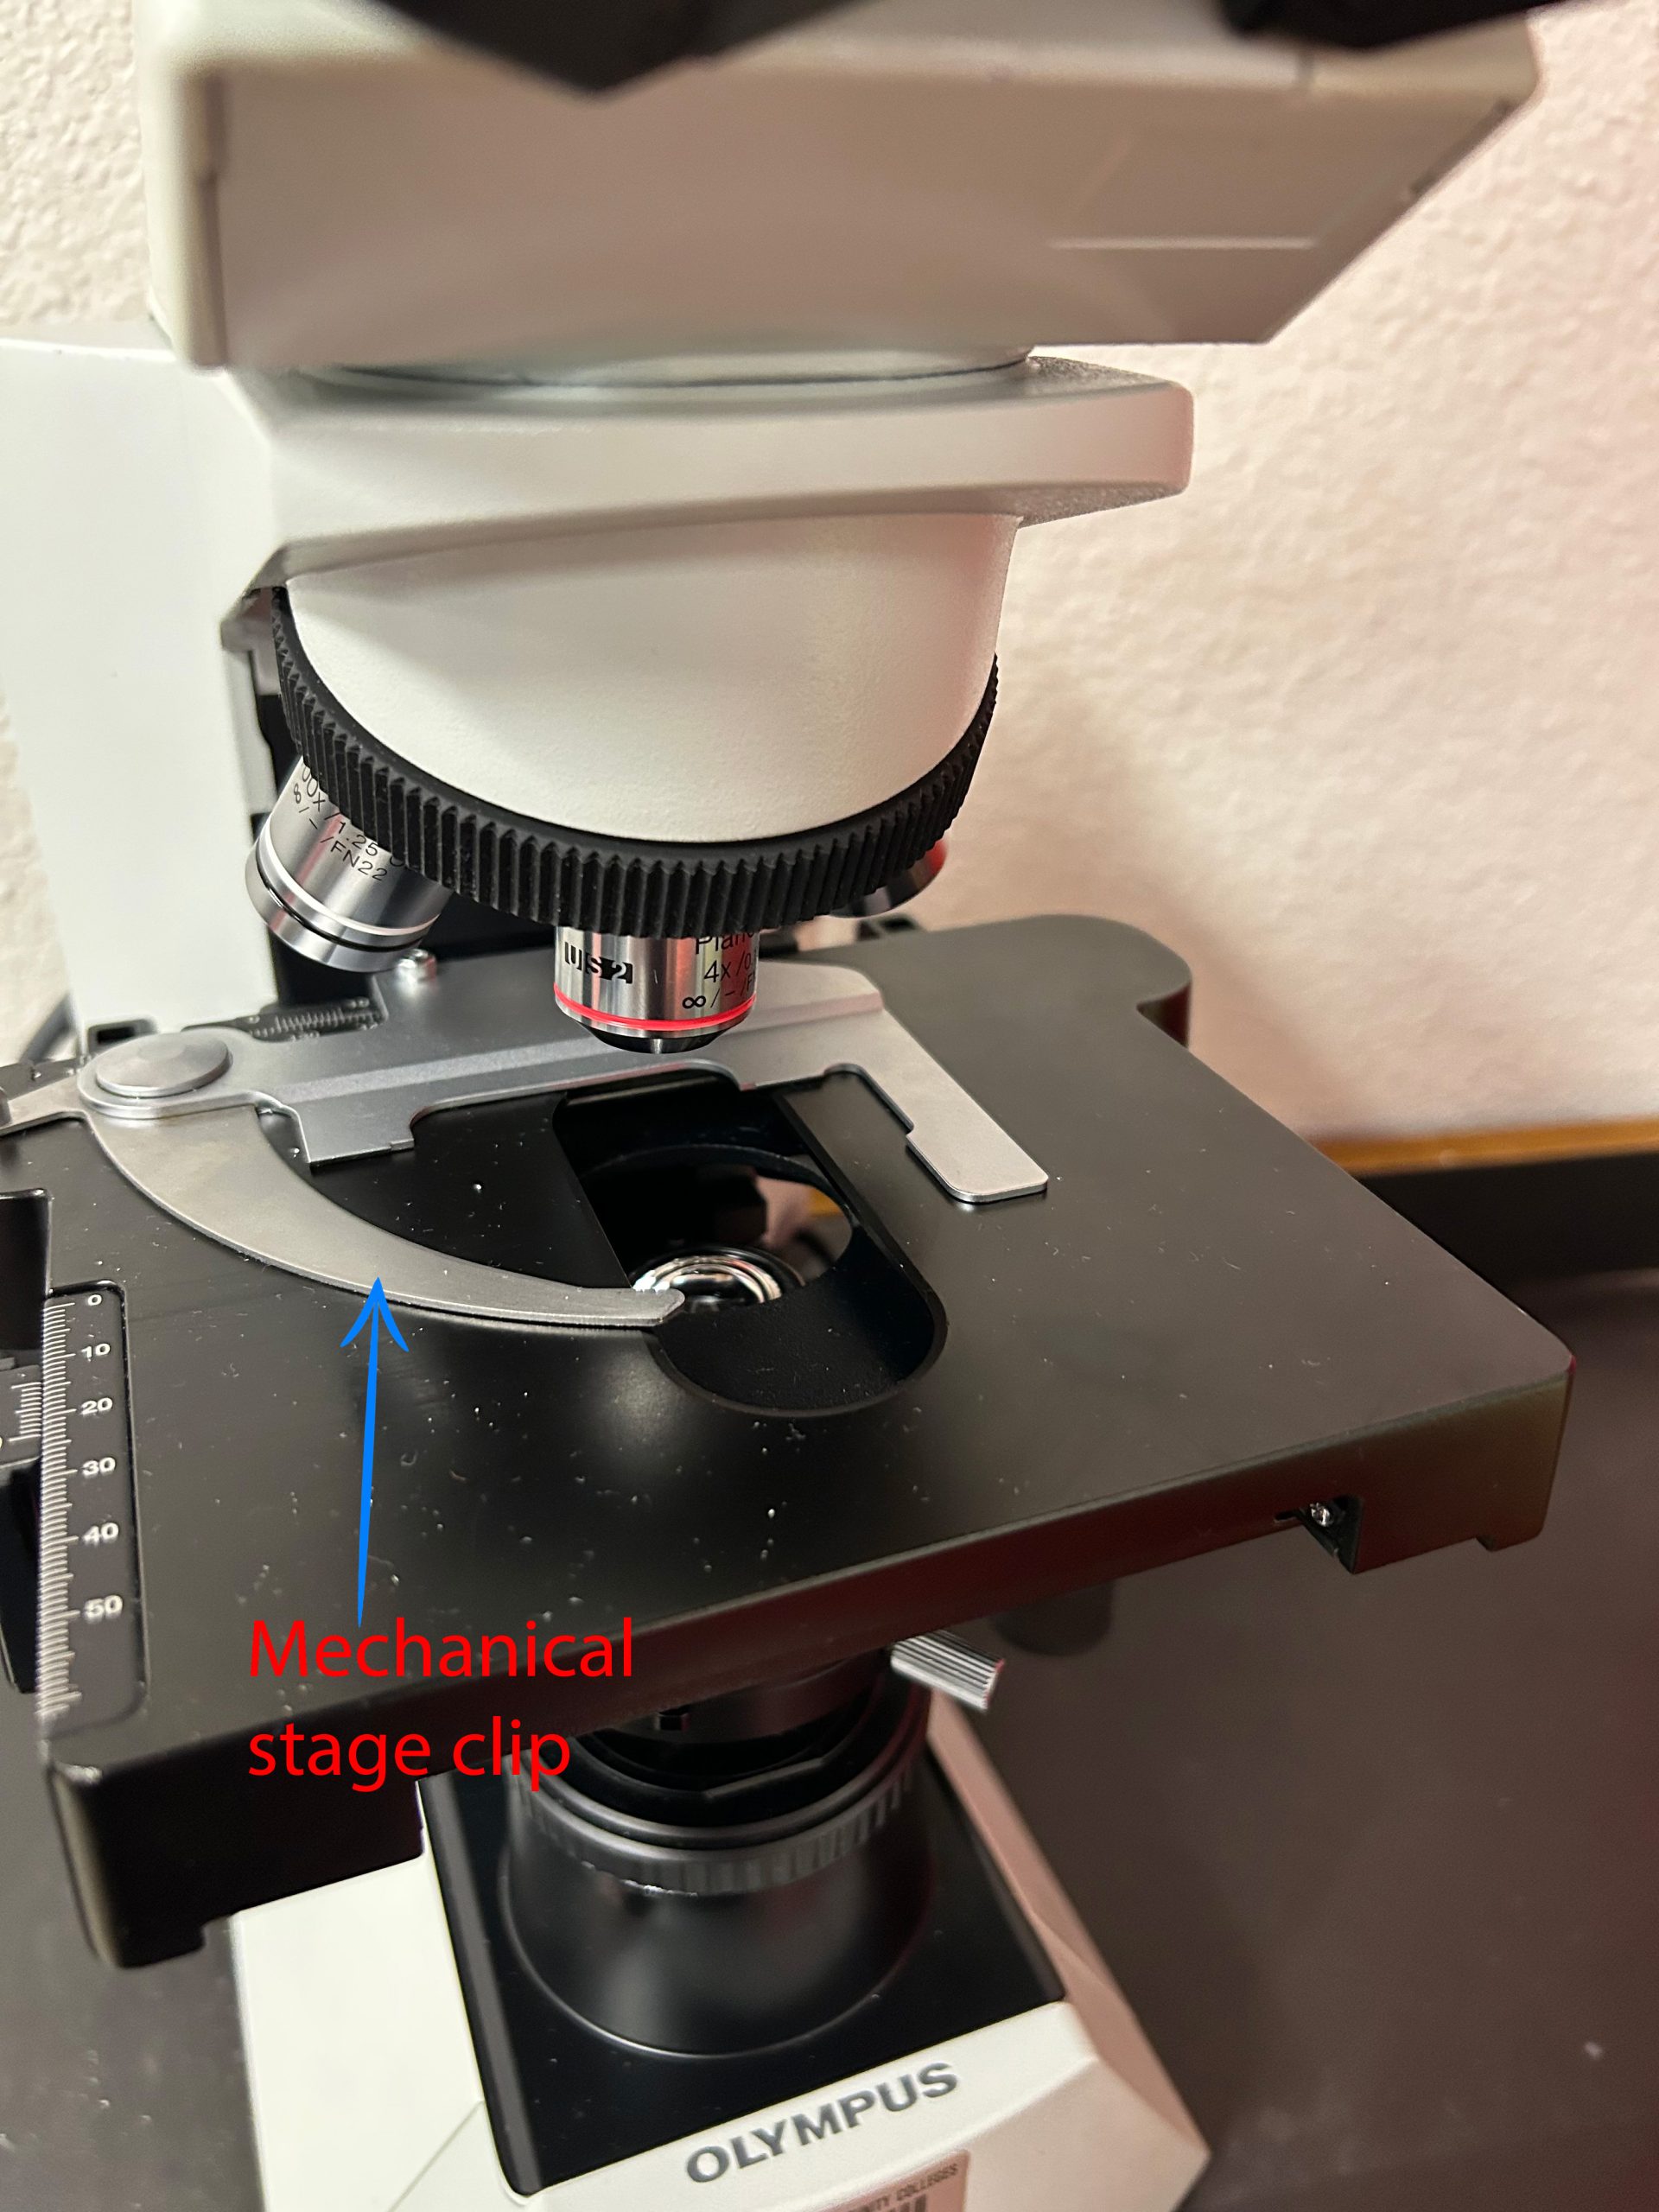
2. Open the spring-loaded curved finger of the specimen holder and slide the specimen as far back as it will go. Gently release the curved finger so the slide is locked into place. The slide can now be moved forward/back and left/right using the X and Y axis mechanical stage knobs.
3. Move the mechanical stage knobs until the specimen is centered above the light shining up through the stage.
4. Rotate the revolving nosepiece until the scanning (4X) objective locks into place.
5. While looking into the oculars, SLOWLY raise the stage by rotating the course adjustment knob until the specimen can be seen in the field of view.
6. SLOWLY turn the fine adjustment knob until the specimen comes into sharp, clear focus.
7. Rotate the revolving nosepiece until the low power (10X) objective locks into place.
8. While looking into the oculars, SLOWLY raise the stage by rotating the course adjustment knob until the specimen can be seen in the field of view.
9. SLOWLY turn the fine adjustment knob until the specimen comes into sharp, clear focus.
Increasing the Magnification to High Power (40X)
1. Move the object you wish to magnify to the center of your field of view.
2. Without moving the slide or the stage, carefully rotate the high-dry objective (40X) into place. The working distance between the objective and slide will decrease considerably. NEVER FORCE the objective into place.
3. SLOWLY turn the fine adjustment knob while looking through the ocular until the more magnified image becomes clear.
4. As you increase magnification, the field of view and the light will decrease. To increase the light intensity, adjust the rheostat knob or iris diaphragm. Your microscope is parfocal, meaning when a specimen is in focus with one objective, it will be approximately in focus with other objectives. Thus, it will take a minimal amount of refocusing to bring the image into sharp focus on high power. To avoid cracking the slide and damaging the objective lens, NEVER USE THE COURSE ADJUSTMENT KNOB AT THIS POINT. IF YOU ARE UNABLE TO FOCUS, GO BACK TO 4X AND REFOCUS THE SLIDE BEFORE CONTINUING.
Increasing the Magnification to Oil Immersion (100X)
1. To further increase the magnification of the specimen, move the nosepiece until it is halfway between the high-dry (40X) objective and the oil immersion (100X) objective.
2. Place a drop of immersion oil directly on the specimen. Carefully rotate the oil immersion (100X) objective until it locks into place. THE OBJECTIVE LENS SHOULD BE IMMERSED IN THE DROP OF OIL.
3. Increase the light intensity by adjusting the rheostat knob or iris diaphragm.
4. Slowly turn the fine adjustment knob until the specimen becomes clear.
5. To change slides, rotate the 10X objective into place. DO NOT LOWER THE STAGE. Remove the slide from the mechanical stage clips and insert the next specimen. Since you did not change any settings, the next slide should be almost in focus.To avoid cracking the slide and damaging the objective lens, NEVER USE THE COURSE ADJUSTMENT KNOB AT THIS POINT. IF YOU ARE UNABLE TO FOCUS, GO BACK TO 4X AND REFOCUS THE SLIDE BEFORE CONTINUING.
Microscope Cleanup
1. Rotate the scanning (4X) objective into place and remove the specimen slide.
2. Place the slide on a paper towel and gently wipe off the excess oil. Use a lens wipe to wipe away the rest of the oil. Return the slide to its correct storage area.
3. Remove any excess oil from the oil immersion objective with a lens wipe. Then clean all the lenses with a lens wipes.
4. Turn down the rheostat and turn off the light switch (O).
5. Replace the dust cover.
TROUBLESHOOTING CHART
Listed on the left side of the chart below are symptoms of microscope problems encountered by beginning microscopists. Possible solutions to these problems are listed on the right side of the chart.
| PROBLEM | POSSIBLE SOLUTIONS |
| No illumination | Plug in electrical cord; Check outlet; Turn on microscope; Check rheostat is open; Check objective is locked into place |
| Inadequate illumination | Open iris diaphragm; Open base diaphragm; Raise condenser; Turn up rheostat |
| Inability to focus at low power | Mark the slide with a marker and focus on the mark; Check slide is right side up; Adjust oculars to interpupillary distance; Jiggle slide while focusing |
| Able to focus at low power, but not at high power | Clean objective lens; Check slide is right side up; With 100X- check that the objective is immersed in oil drop |
| Hazy, fuzzy focus | Clean objective lens; clean ocular lens with a lens wipe; Check 100X objective is immersed in oil drop |
| Field of view obscured | Rotate oculars. If markings move, then clean oculars; Clean dust off of condenser and base diaphragm |
| Eyelashes are seen while viewing the specimen | Hold your head further back from the oculars |
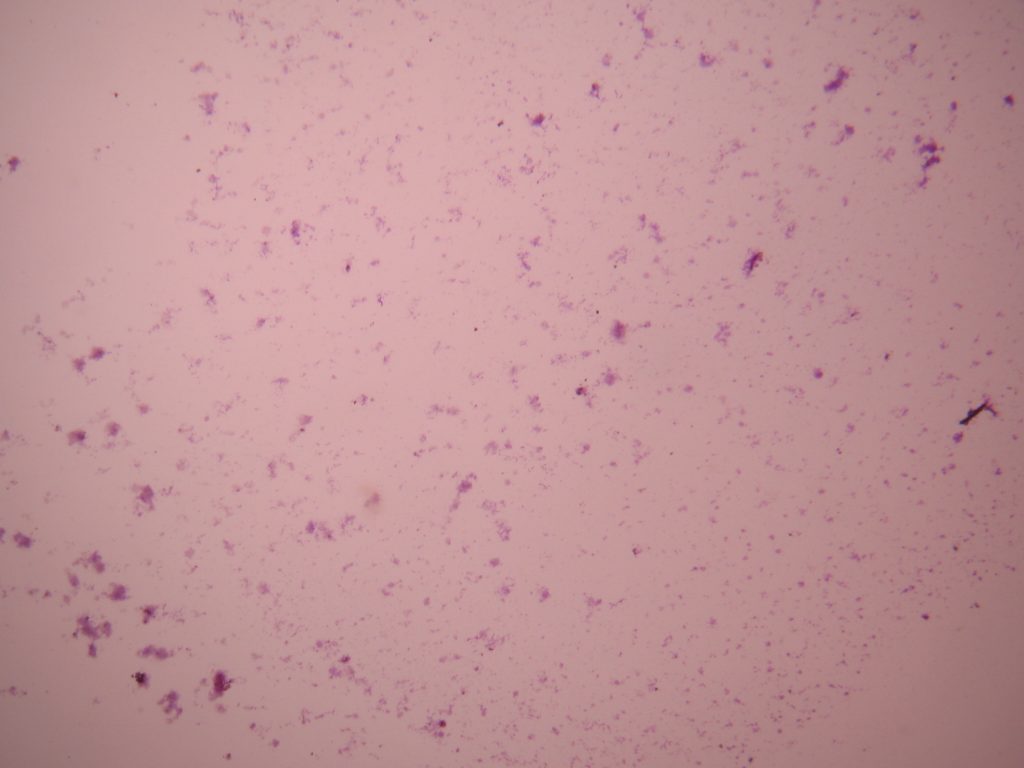
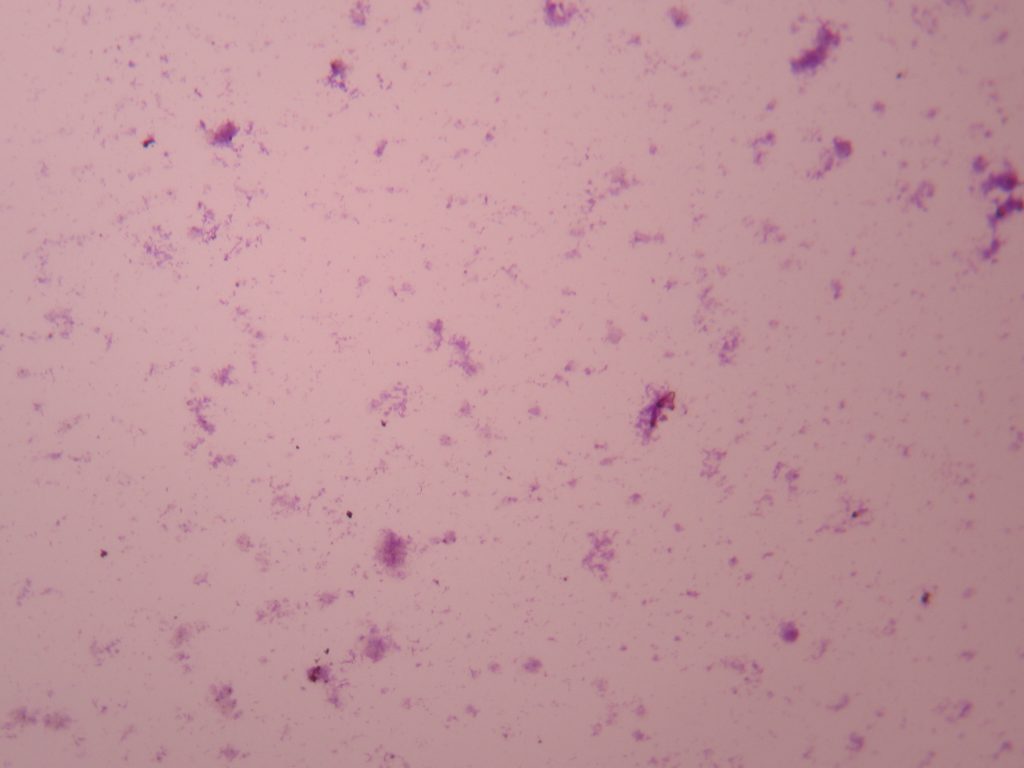
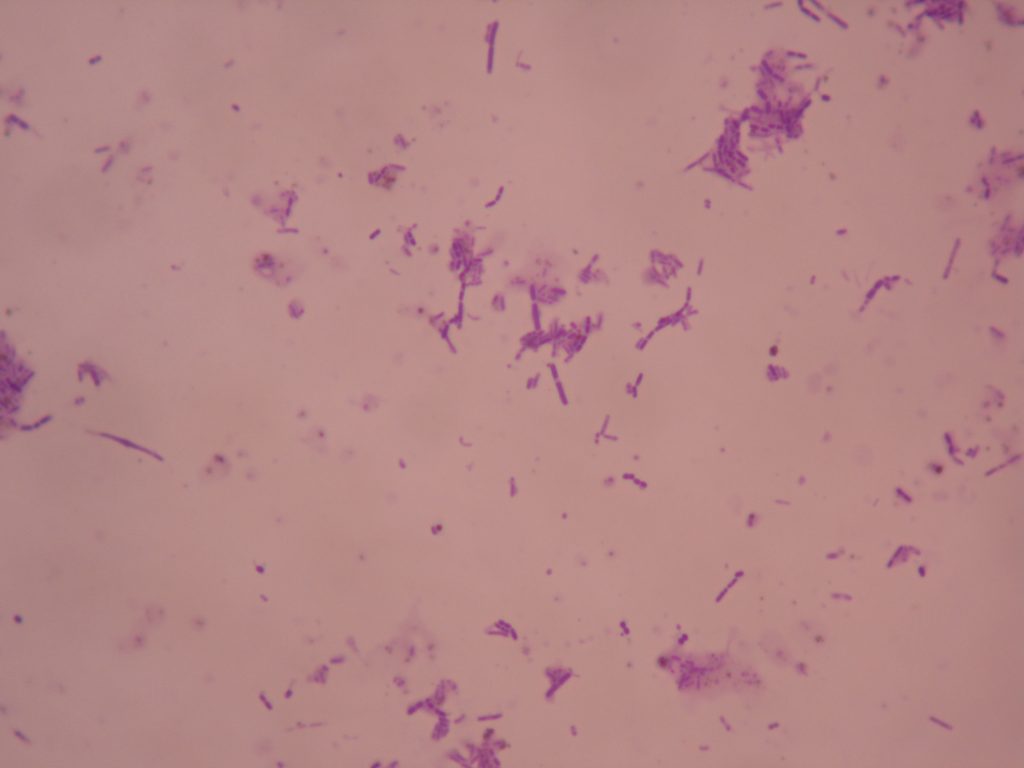
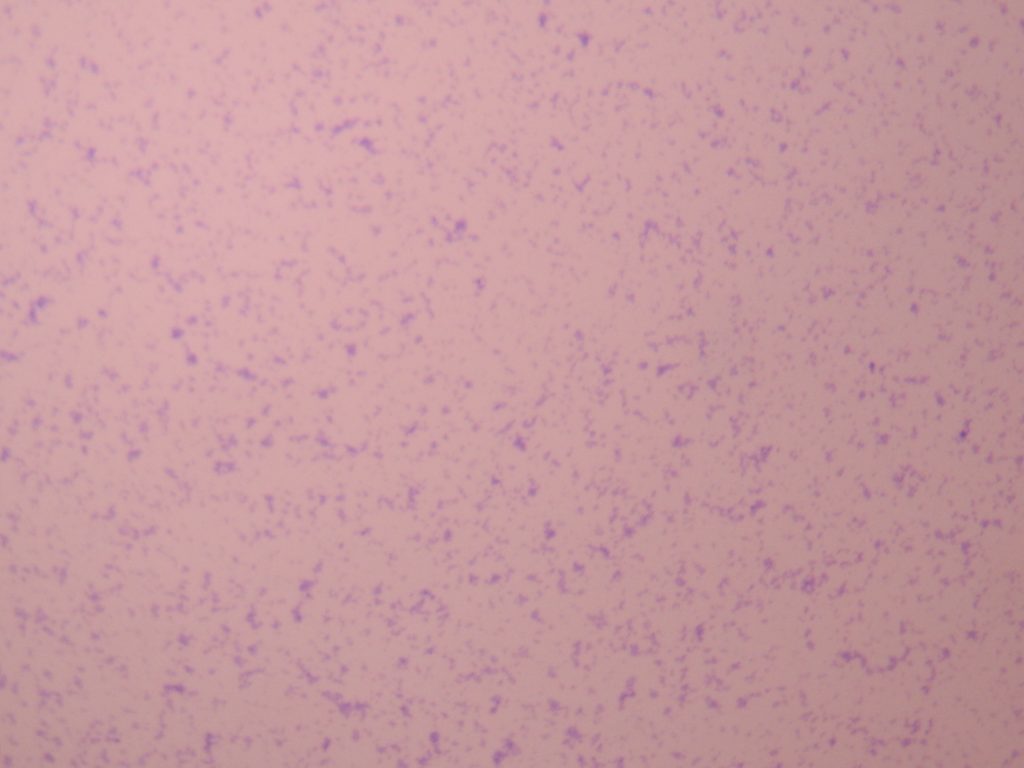
procedure
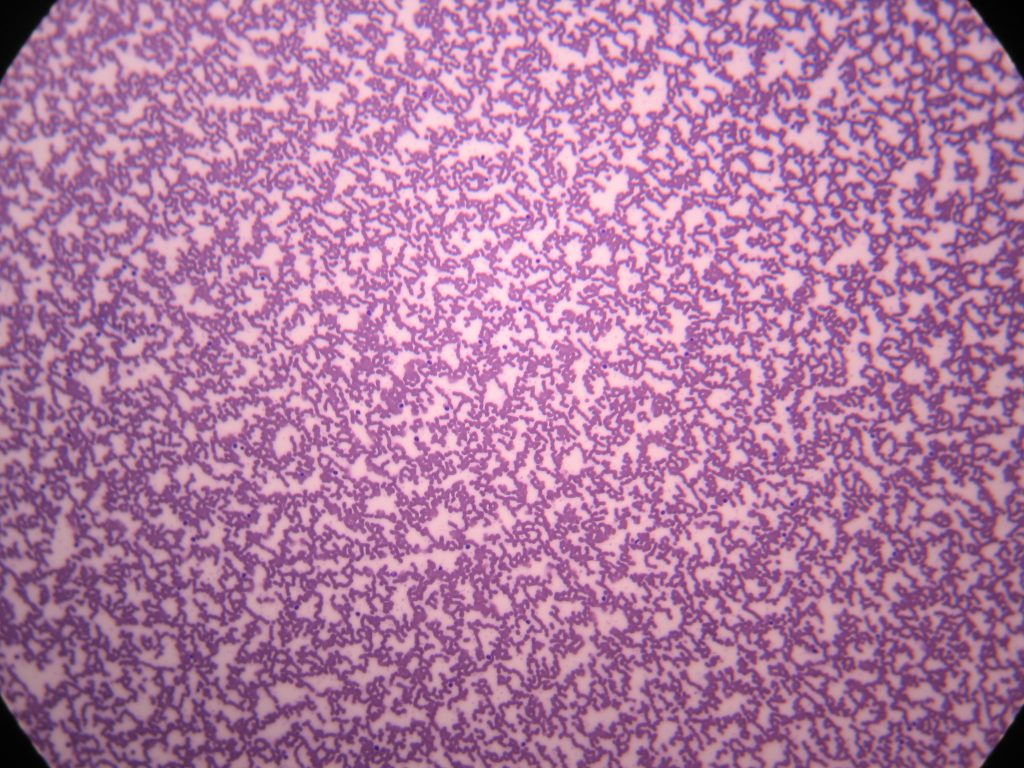
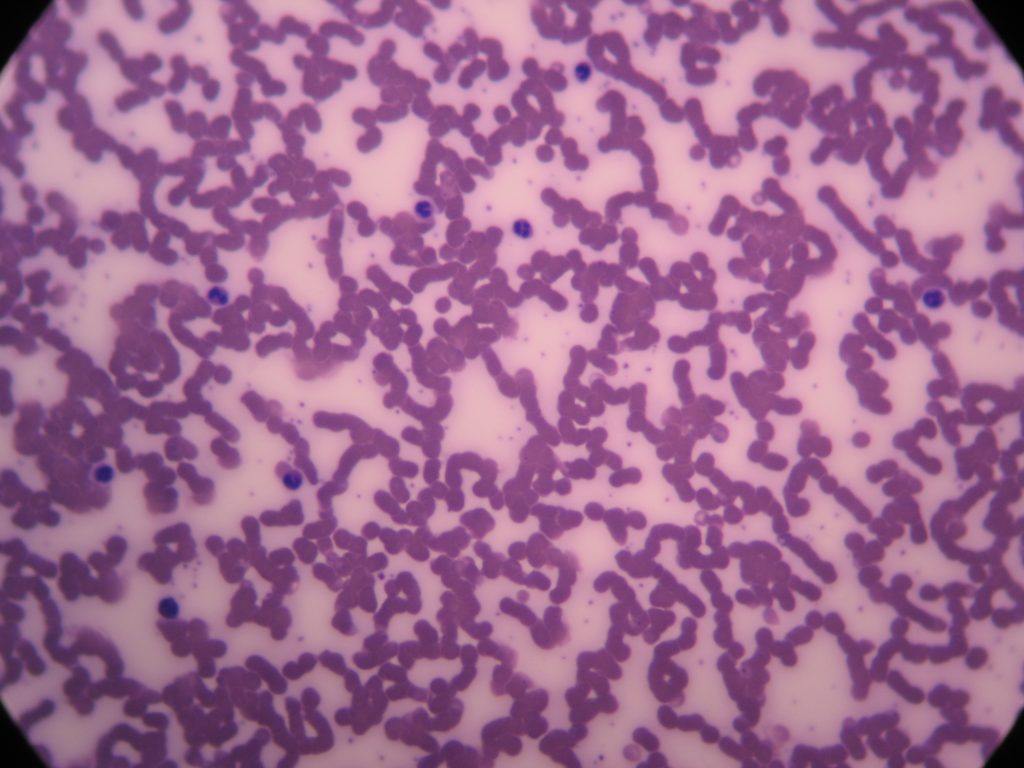
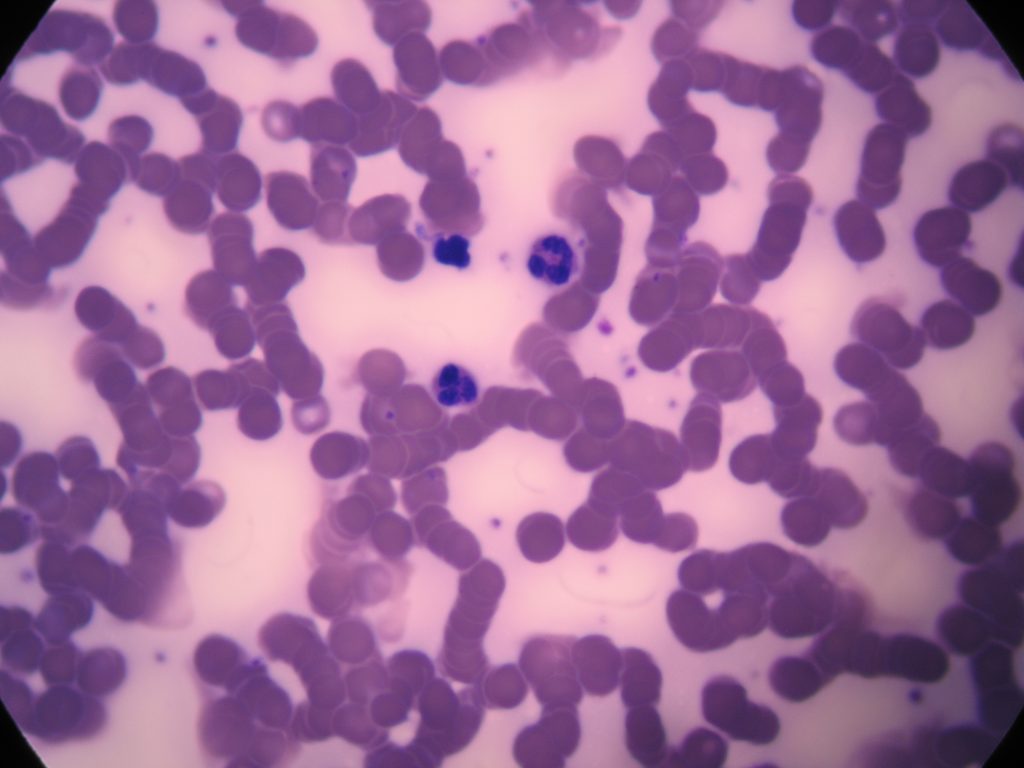
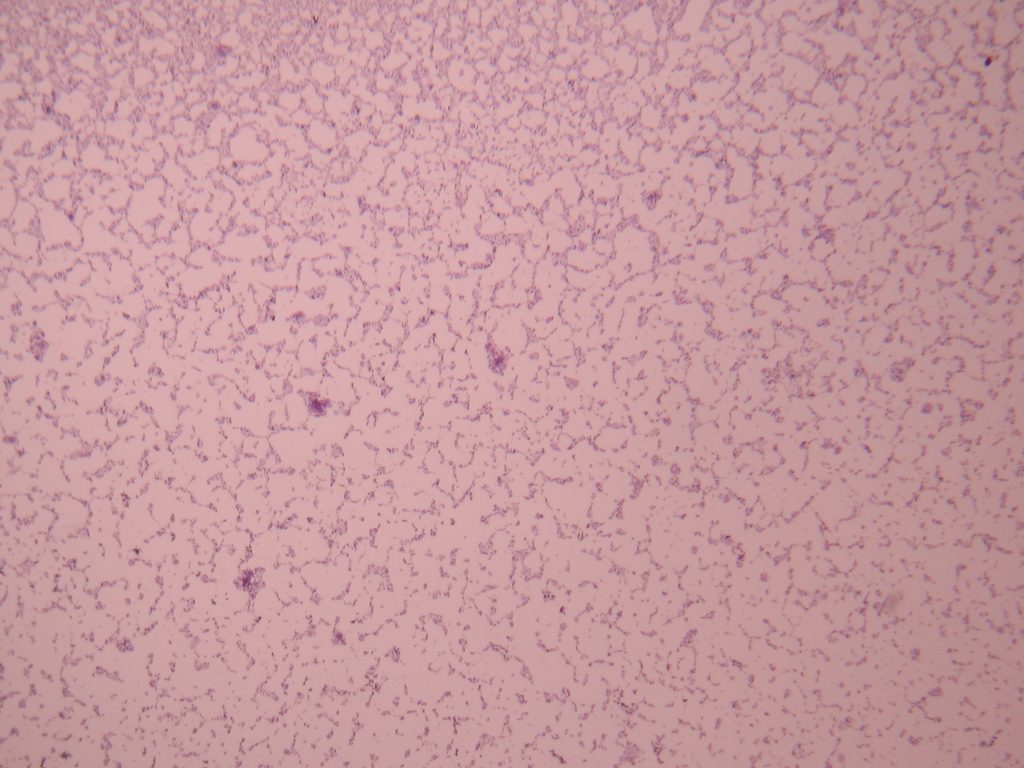
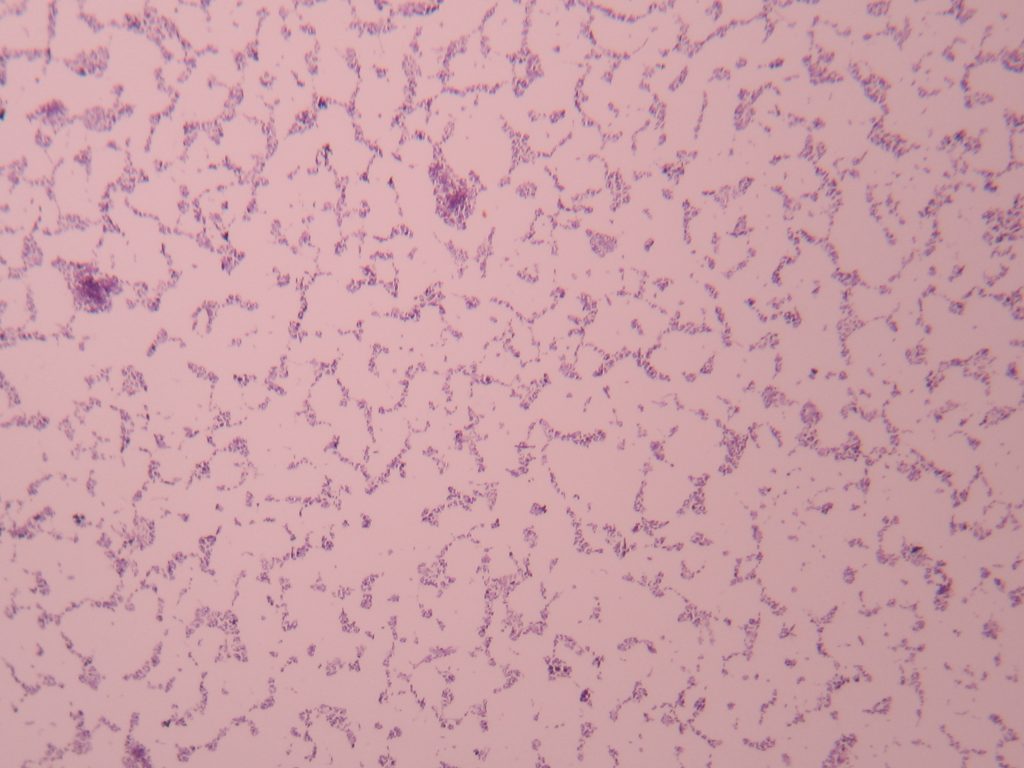
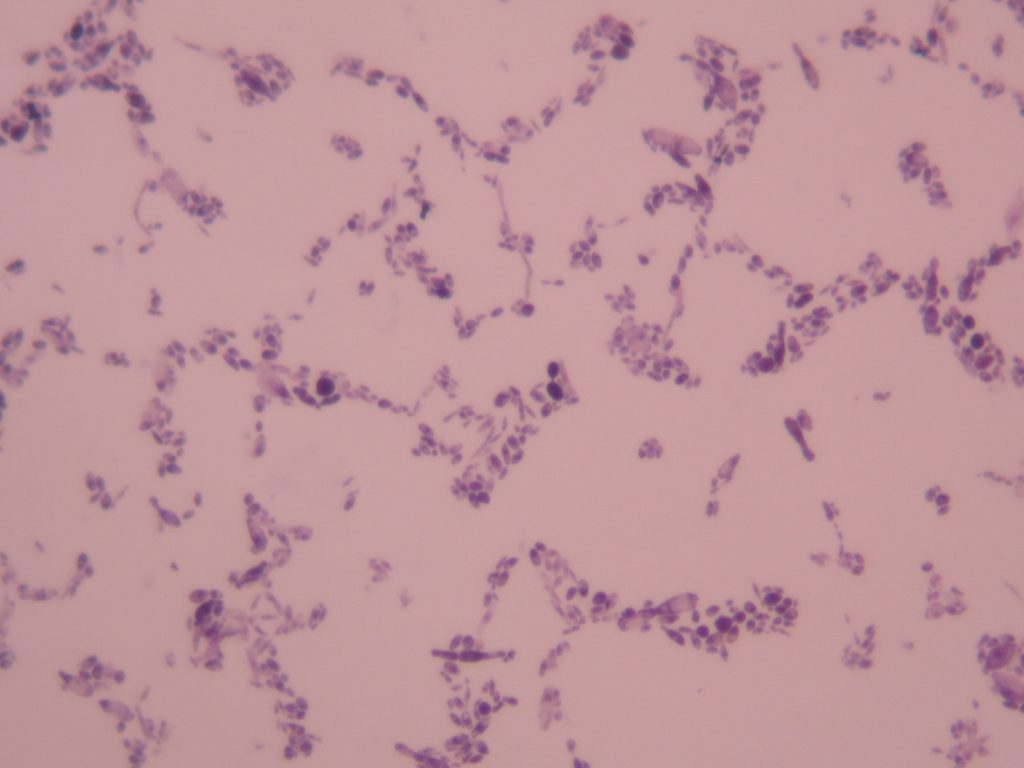
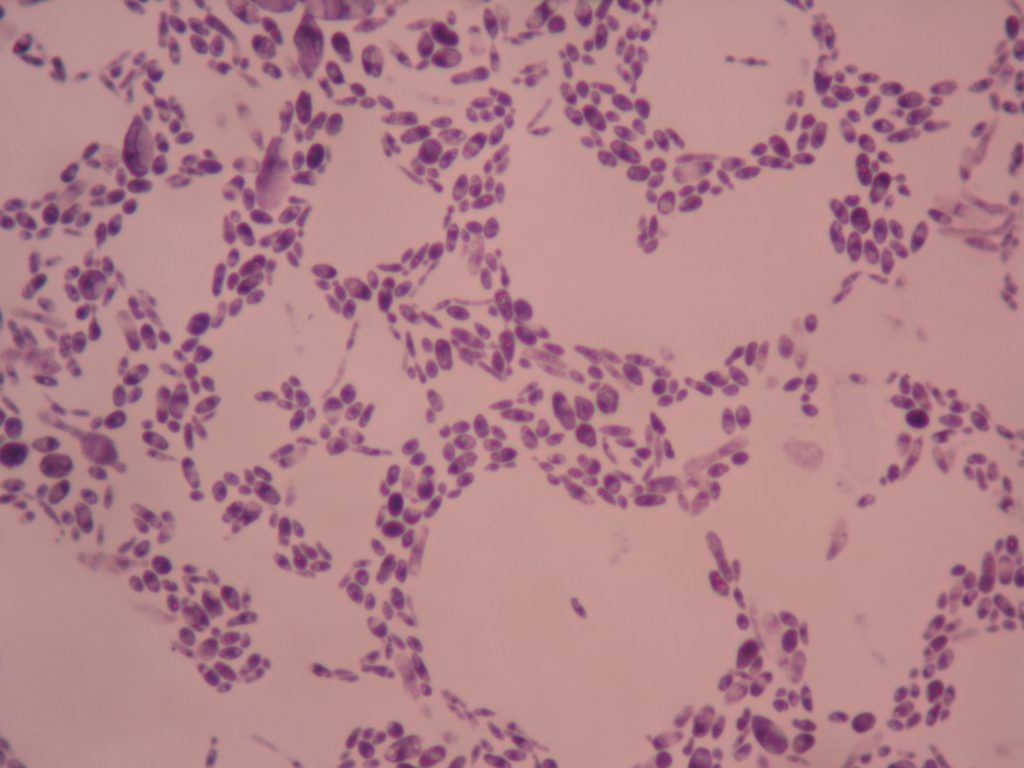
Using the instructions above, focus the microscope lab sides at 40, 100, 400, and 1,000X total magnification. Complete the Microscope worksheet.
slide photos


POST TEST
DISCOVERIES IN MICROBIOLOGY
JUNE ALMEIDA
 When Scottish virologist June Almeida peered into her electron microscope in 1964, she saw a round, grey dot covered in tiny spokes. She and her colleagues noted that the spikes formed a halo around the virus, much like the sun’s corona. What she saw would become known as the coronavirus. In 2019, when a strange disease first appeared in China, researchers used Almeida’s pioneering work to identify the culprit as another coronavirus, a type called SARS-CoV-2, which causes COVID-19.
